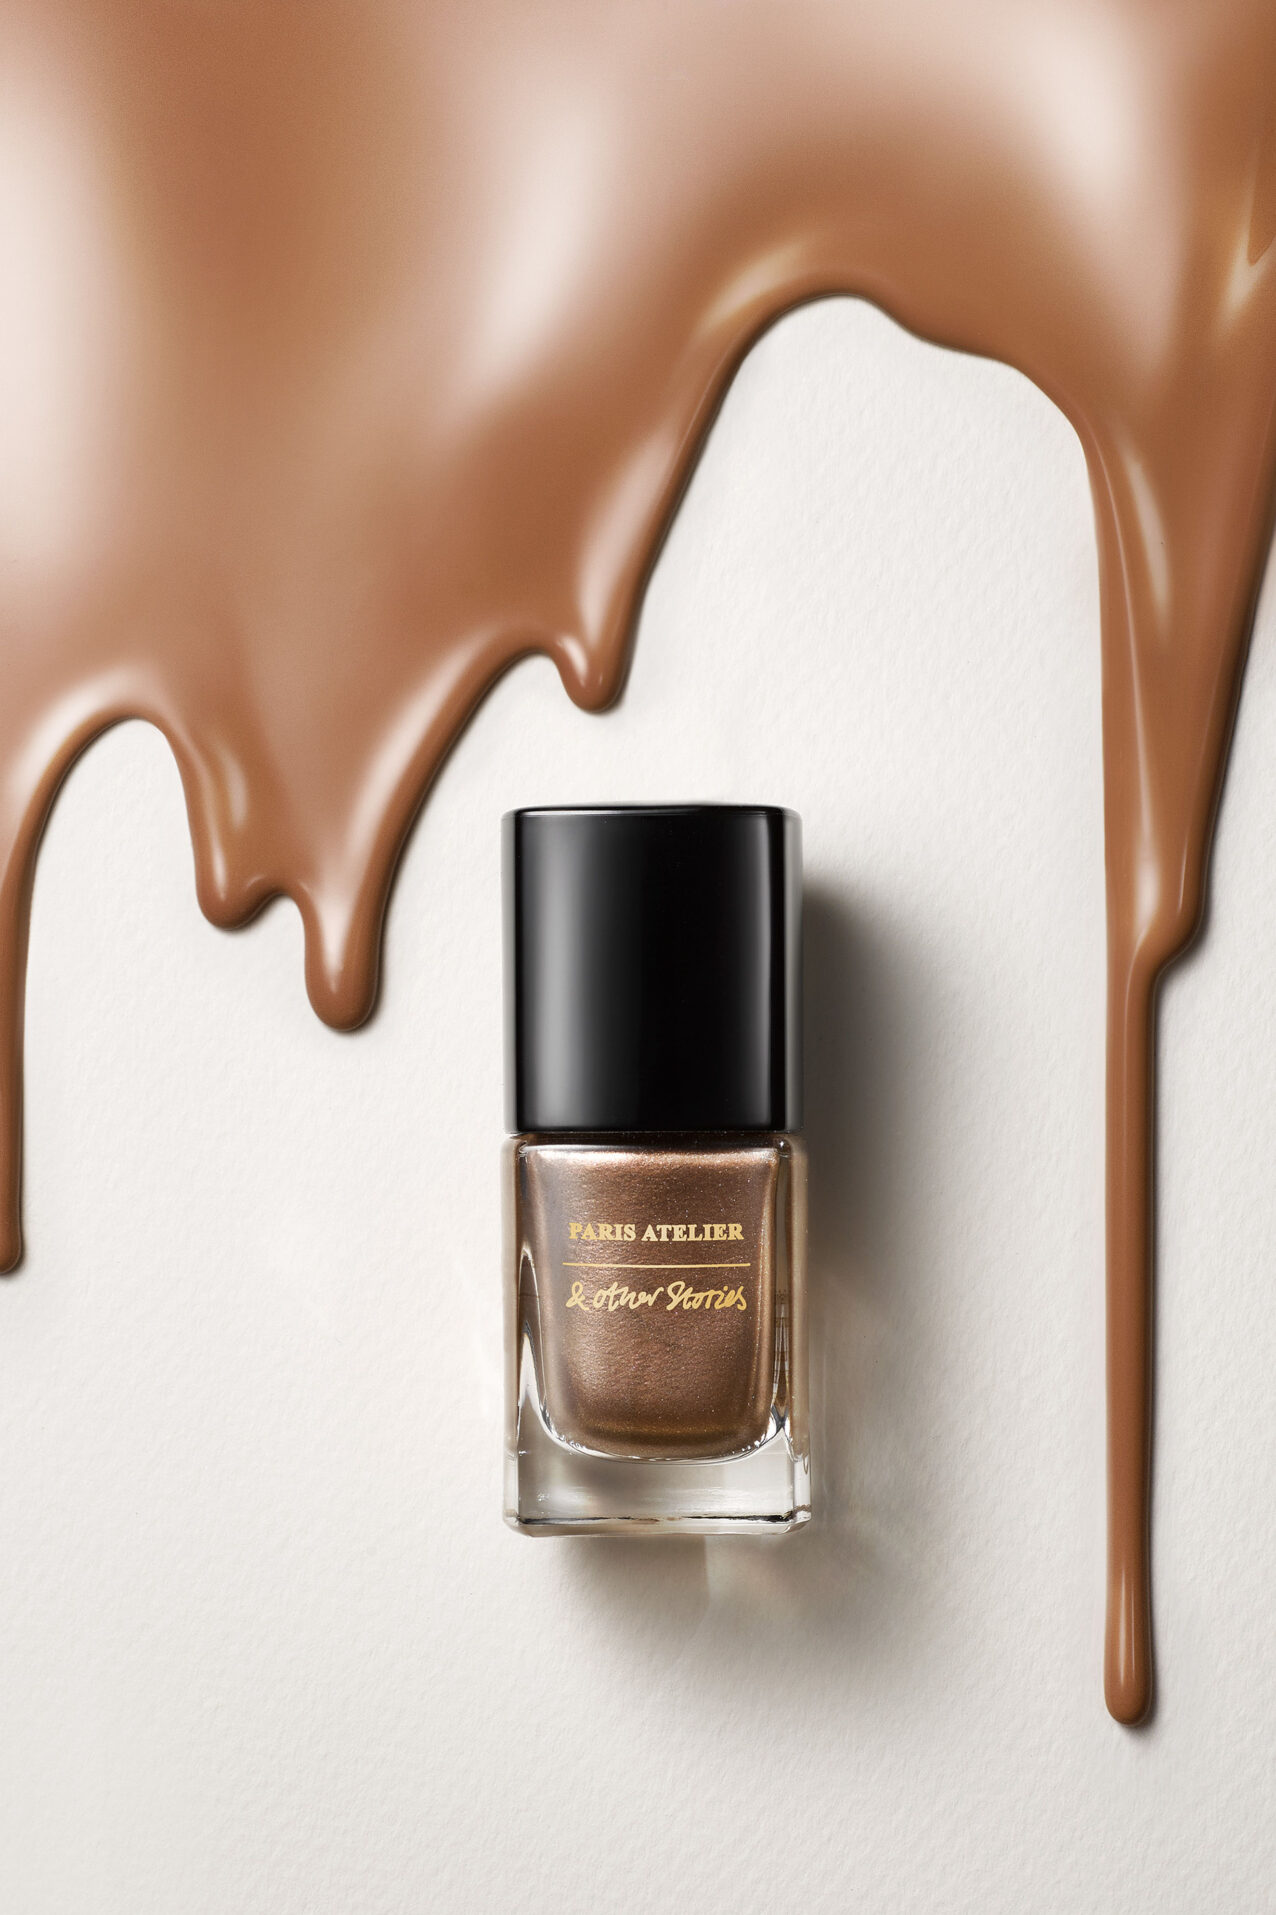
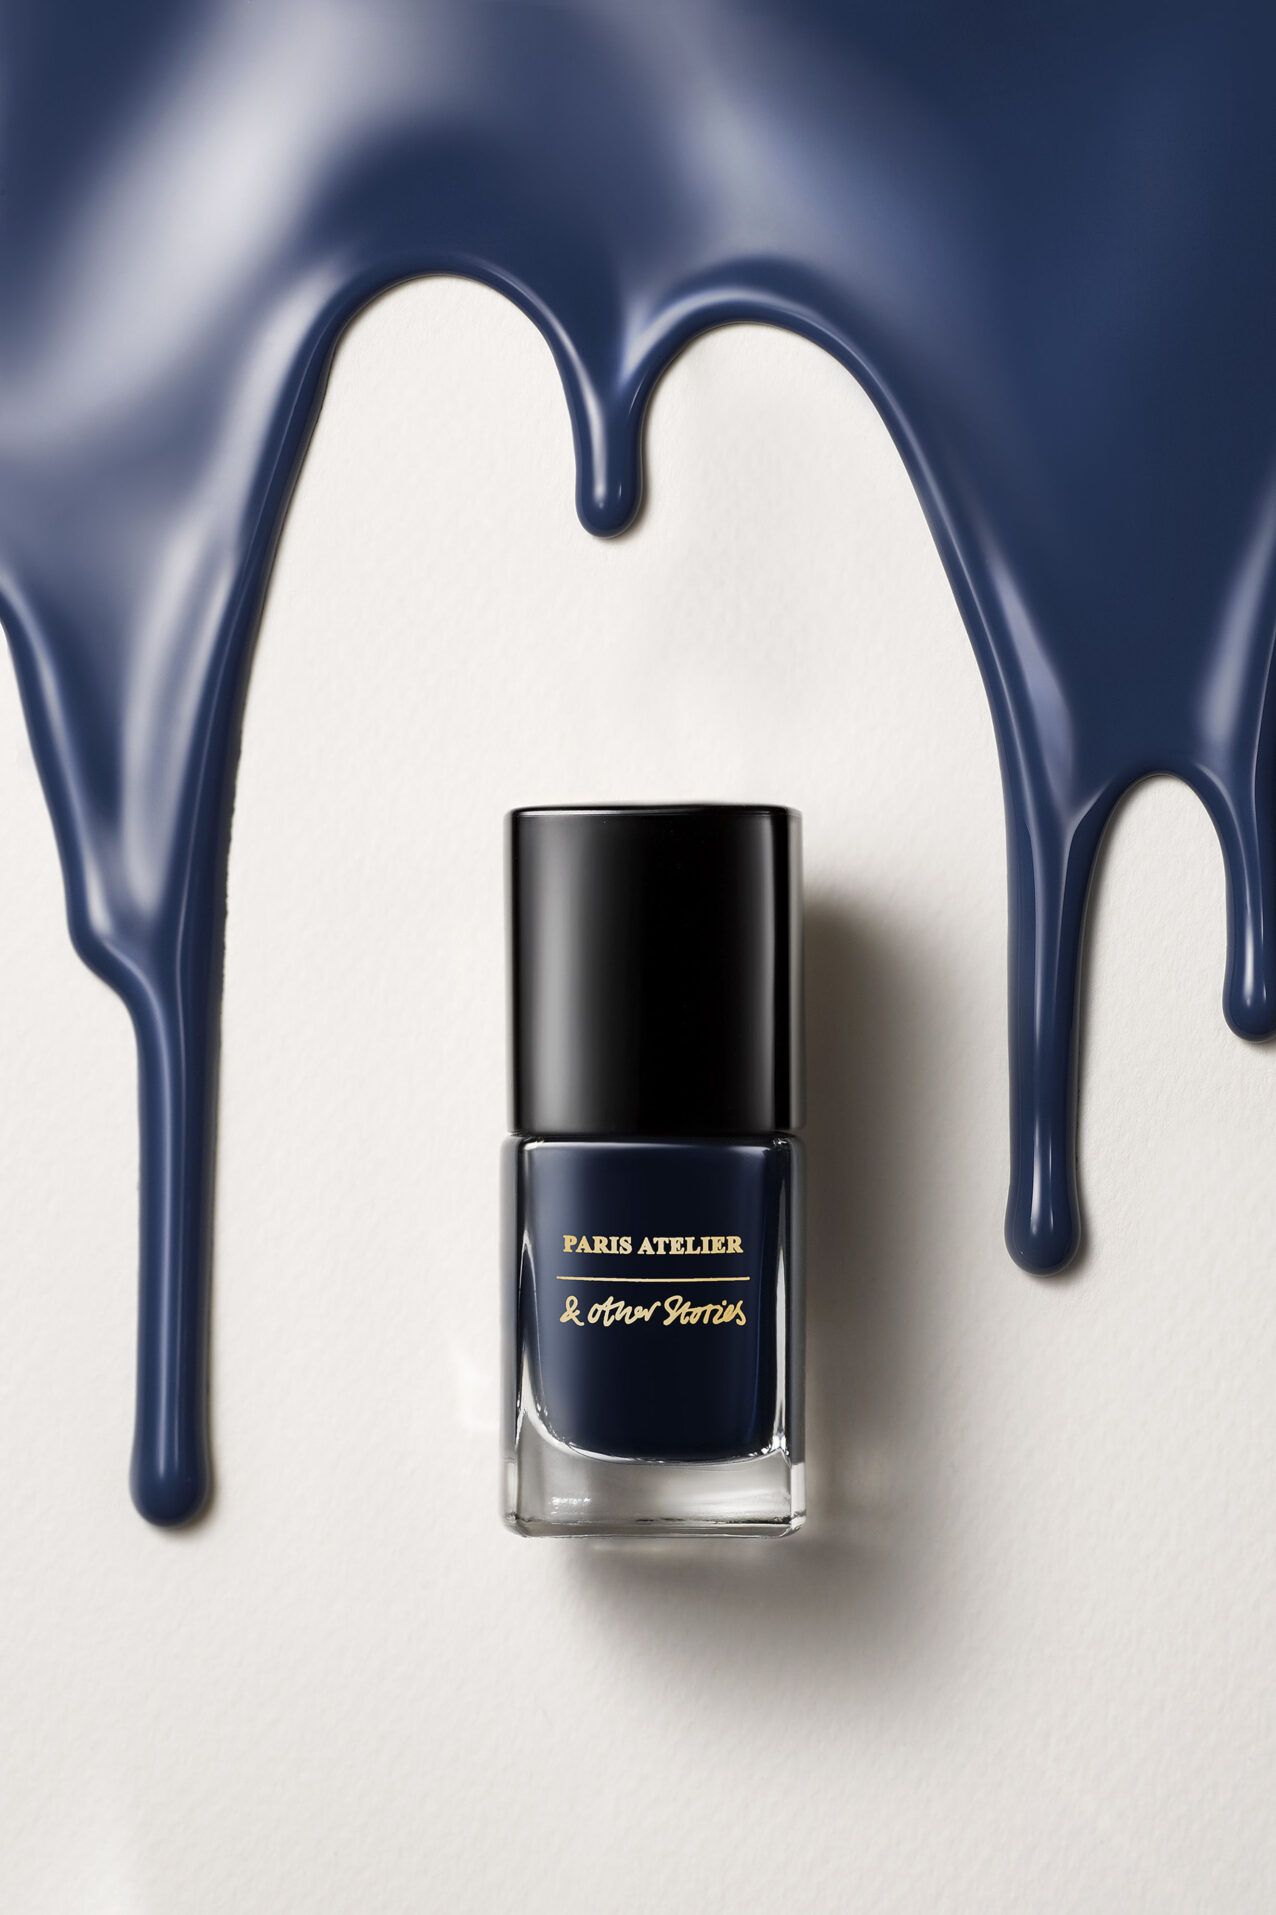
This year we wanted to get our hands dirty and try something a bit more experimental. So we grabbed some nail polish, went to the hardware store and decided to have some fun. The idea was to play with dripping and motion while highlighting the colors of each tone yet keeping it elegant and refined.
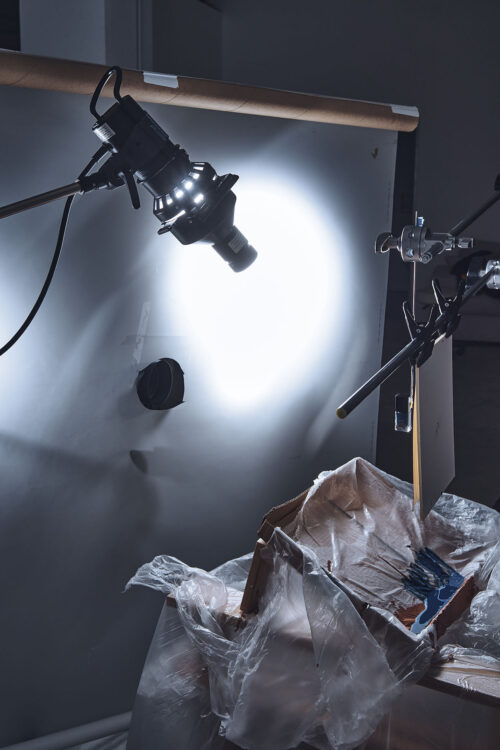
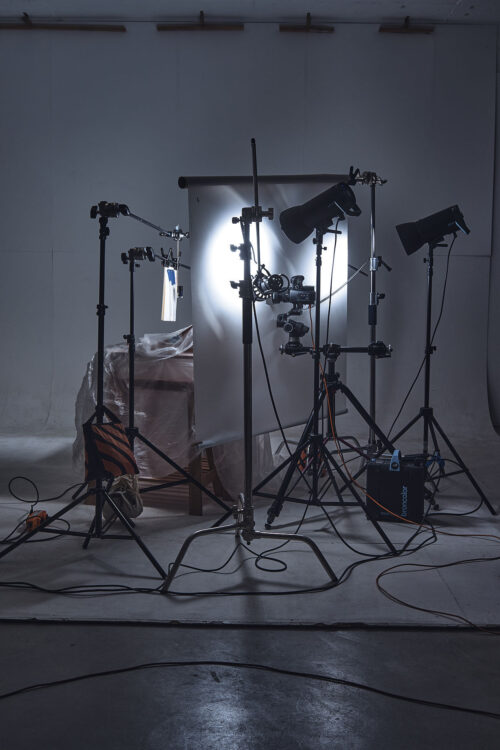
For the setup, I hung the background vertically and placed the nail polish in front of it. I wanted the paint to flow and not have any air bubbles. After many trials, this seemed the best placement to get this effect. Underneath this setup, you will see a cardboard box and a plastic sheet. This is simply to protect the floor from the dripping paint.

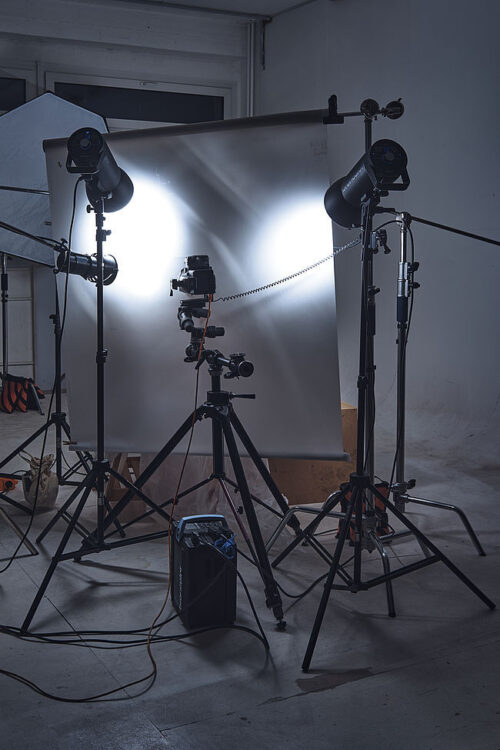
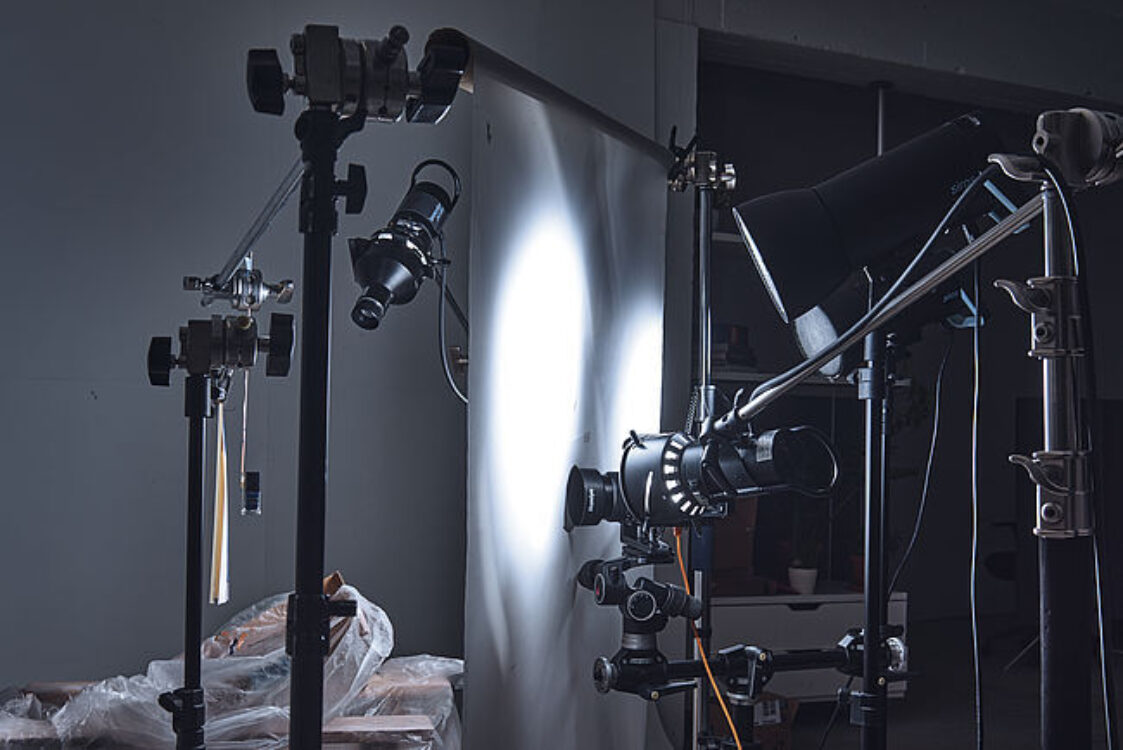
I then placed a diffusion panel in front of my camera and cut a hole the size of my lens through it. I did this because the bottle was glossy, and I wanted to create an overall reflection on the product whilst avoiding hard edges. Next, I set up the lights. I used a Siros 800 S & L40 standard reflector with a medium honeycomb as the main light. It was placed on the left side of the camera, standing behind the diffusion panel. This light combination illuminated the whole set and created long soft shadows and soft reflections in the paint as it flowed down the background. Something was still missing; the setup looked a bit flat - it still needed a reflection on the lid & glass of the bottle. The light source for this had to be precise. Therefore, the Picolite was the obvious choice. I placed one on the left-hand side of the Siros 800 S. This was to create a harder reflection on the lid & glass of the bottle. To control the light further I used the Fresnel modifier. This let me zoom in & out and change the size/hardness of the spot.
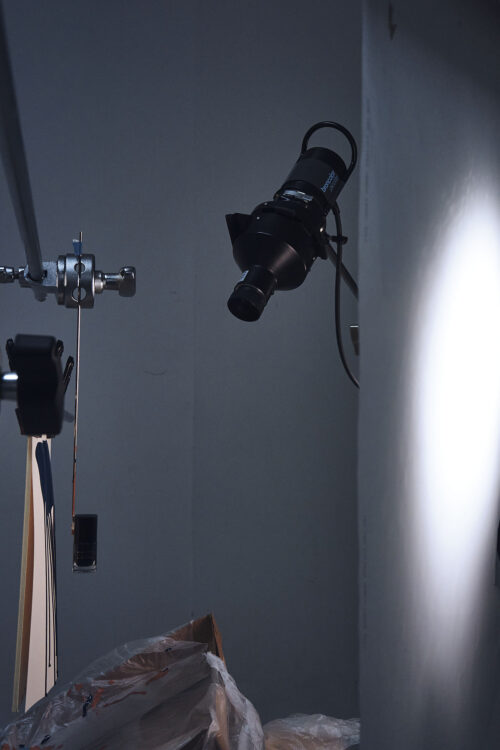
I then placed a second Picolite, with a projector attachment, in front of the diffusion panel. Using the metal templates of the attachment, I was able to focus the light just on the bottle, without disturbing the rest of the setup.
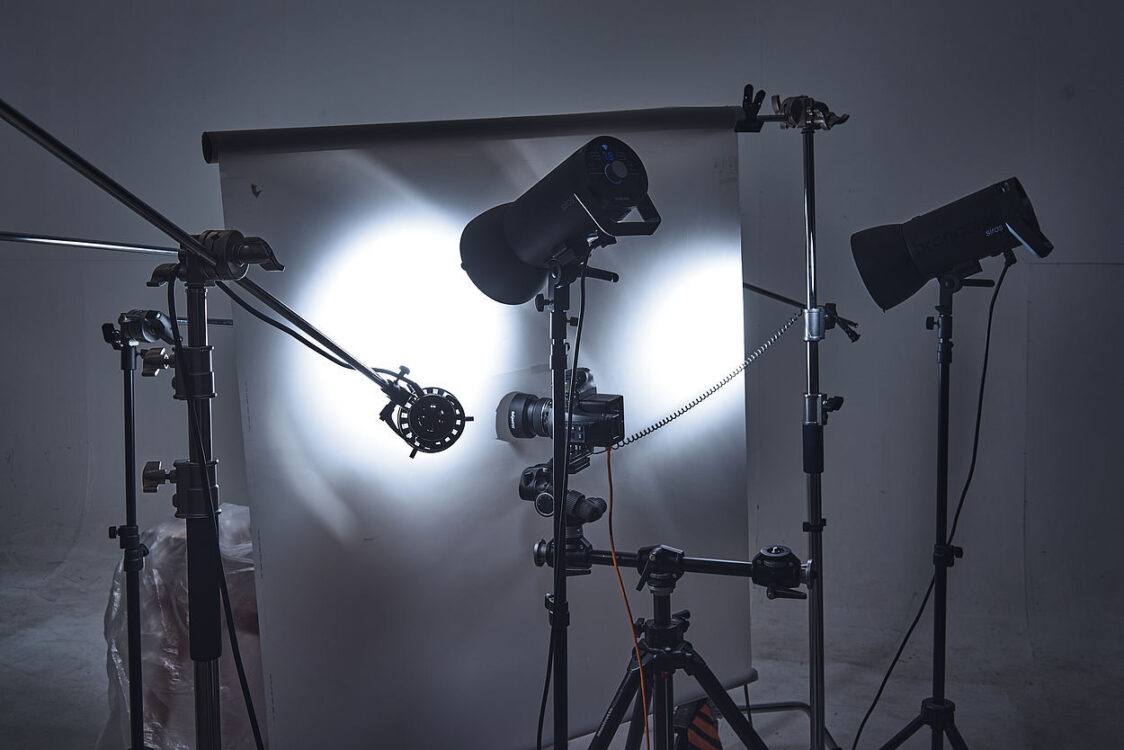
Finally, I wanted to add a slight reflection on the right-hand side of the bottle. I placed an additional Siros 800 S with a small honeycomb grid to the right of the camera and pointed to the far-right side of the diffusion panel. This created a very slim reflection on the lid.
With this, the light setup was complete, and I could start with pouring the paint. I found the best way to do it was to add a bit of paint to the background - on a flat surface. Then I hung it up behind the nail polish and very quickly tried to get the shot. It took a lot of experimenting to get the dripping just right. After which I combined the best ones in Photoshop. In the end, I really loved the effect of the paint and I was really happy I took so much time in taking the shots and experimenting with it.

There you have it! Hope you enjoyed this month’s blog. Please visit my website NWStudio.de to see other works of mine.