When I started my photography business almost 80% of my paid jobs were e-commerce. Most commercial shoots I had were hard to come by and needed a lot of time to prepare for. So to make the most of my time I had to find a way to shoot E-commerce efficiently. For this, I decided I needed a base setup that was my go-to for simpler objects that I could then improvise on for more complex pieces. It needed to be quick and adaptable. The light setup can make or break your shoot. It is the difference between an object having a dimension or looking flat. I soon came to realize that the lights I used also made a big difference. When I started off on my own I just bought what I could afford - which were not so great. The problem I kept facing was a lack of power in the lights when working and significant color inconsistency in the photos. Which invariably meant, I had to spend more hours doing post after shoots. I began to feel that I could be using this time instead to procure more work. It was at this time I decided to invest in new studio lights. I didn’t take this decision lightly. Anyone who knows the market knows it is a tough decision that costs quite some money and you want to make the right one. So I began figuring out what was really important to me.
1. Function & Ease of Handling
Is it easy to carry/work with? Will I be able to attach light modifiers easily and securely? I did not want to have the issue of it sliding or falling off, the system needed to be secure. Also were there any special functions that might be nice to have such as a High-Speed Mode?
2. Quality
This was very important to me, if not the most important point. I wanted lights that were made of sturdy material and long-lasting.
3. Good Range of Light Modifiers
It is important to choose a brand that offers a wide range of light shapers, so I can later expand my range of light shapers that are compatible with the same lamps. With more light shapers, it is possible to create different light effects for any type of photography. It thus offers tons of possibilities.
4. Colour Consistency
A more consistent color when photographing, so as to reduce my time in post-production.
5. Price
I was happy to give some money out provided it was going to last me for a very long time. I looked at it more as an investment into the business, through which I could work faster and hopefully earn more from that.
With this laid out in front of me, I started looking into the brands available. I narrowed it down to two that fit my criteria. Lucky for me, the studio I was freelancing at then had both lights. I tested them out and came away with a clear winner - broncolor. It ticked all the boxes - it was super easy to handle, the system is flawless and it felt so solid. I had worked with broncolor at the studio I had done my apprenticeship at and I remembered how impeccable the quality was. That studio had lights from broncolor that were over 20 years old. I think that was also a major factor for me picking broncolor as well. I did not want to change lights every 5 years, I wanted to have lights that lasted for the long run.
With the decision made I got in touch with broncolor. It is very easy to buy everything online but I had a few questions and called them instead. It was really helpful and I can definitely recommend it. I not only got my questions answered but also a lot of help in deciding what equipment/accessories to buy first so that they fit into my budget.
Now looking back I am really glad I invested in new equipment. I initially bought for e-commerce shoots but as I have grown as a photographer so have my jobs. I now have a lot more commercial shoots and the lights have been just fantastic. They are so professional in their usage and adaptability. I definitely feel like they have helped me get that extra edge in my work and it can be seen in the photos I produce.
For all the young photographers out there that want to know how I shoot for E-commerce here is a how-to using 1, 2, and 3 light sources.
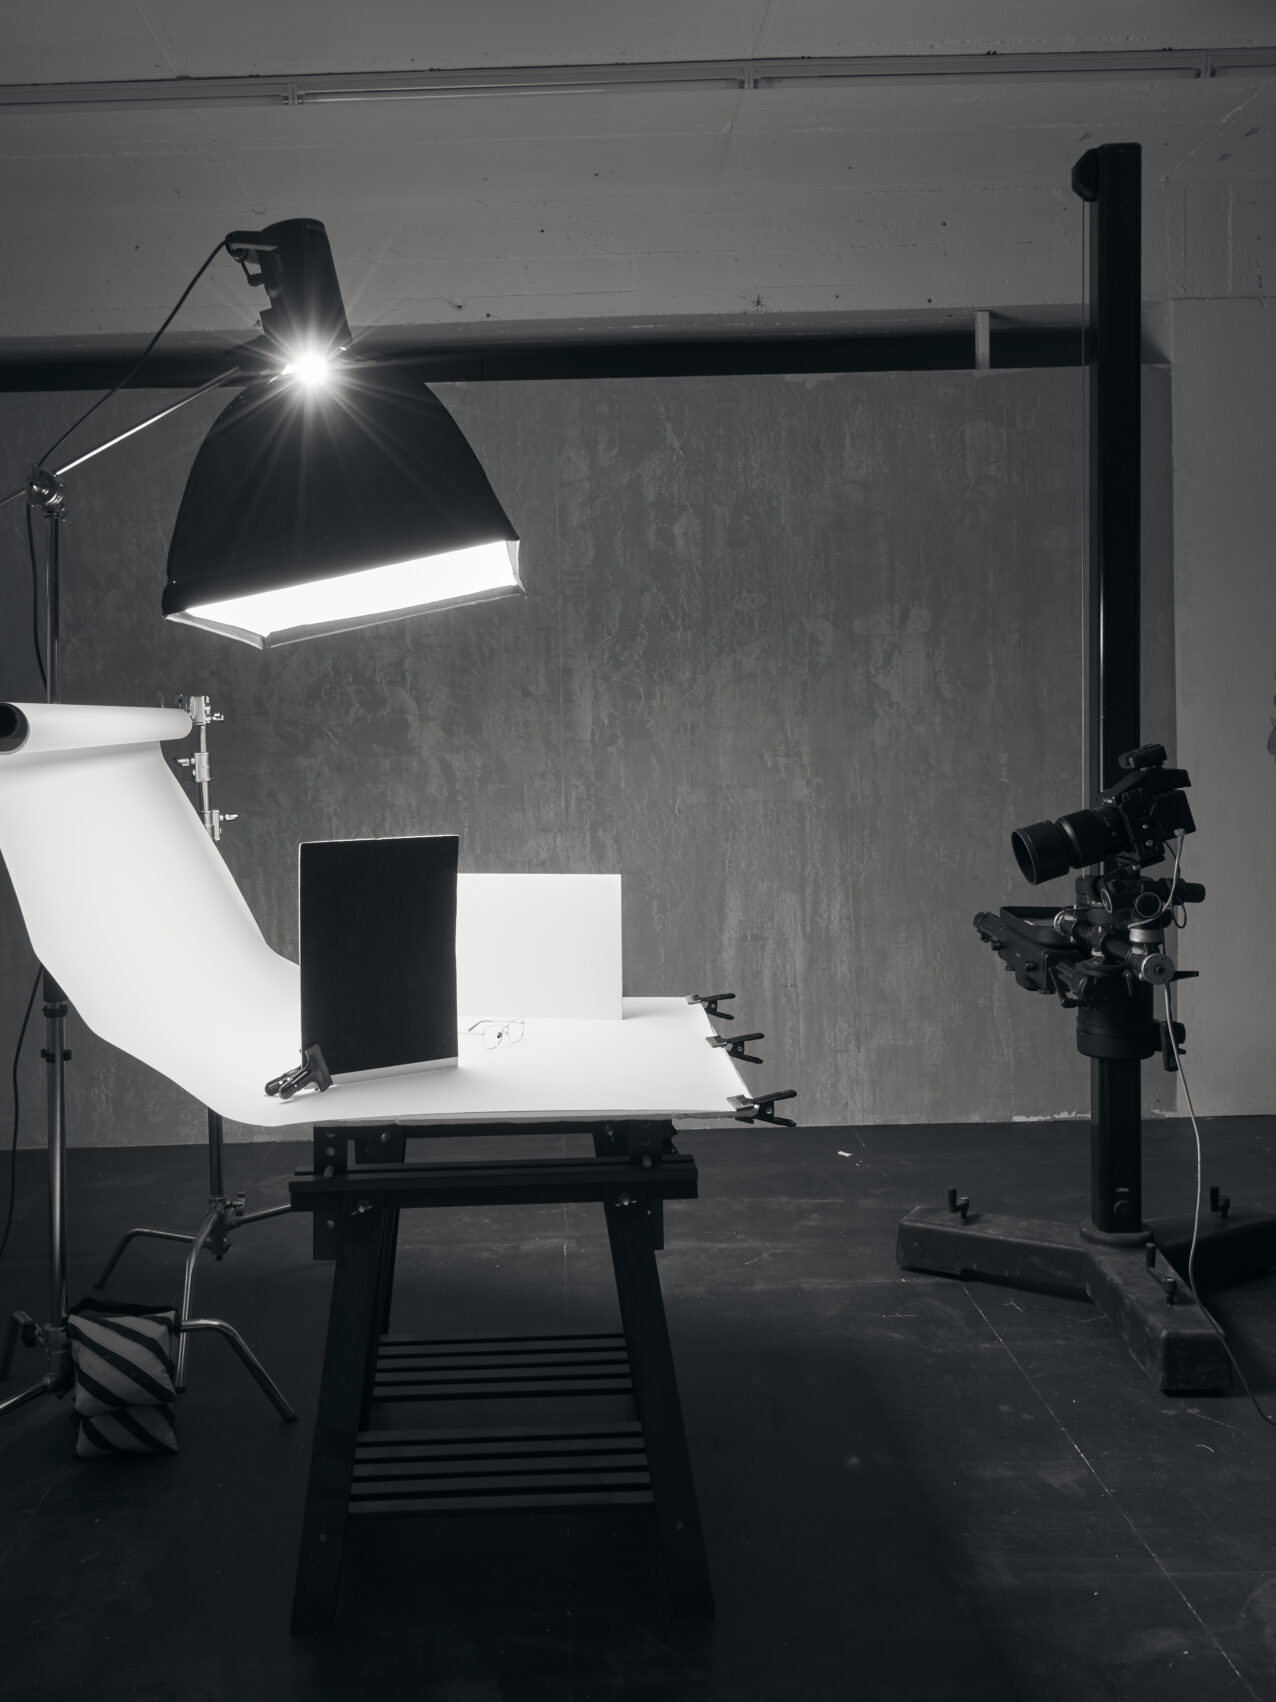
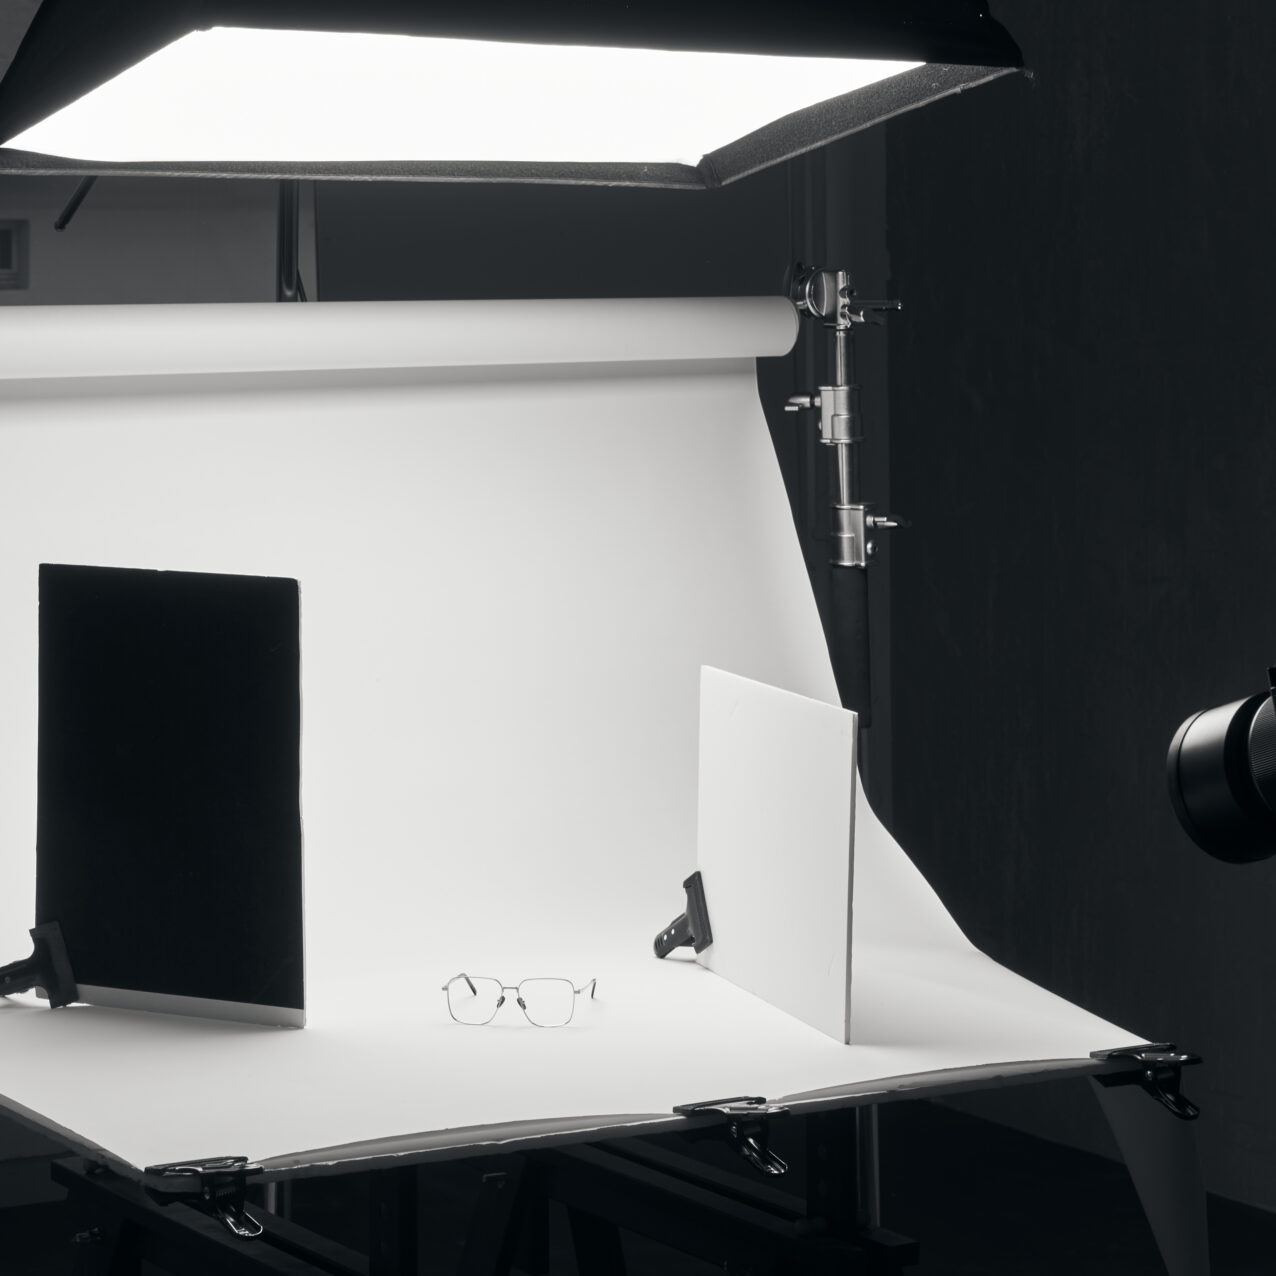
One Light Source
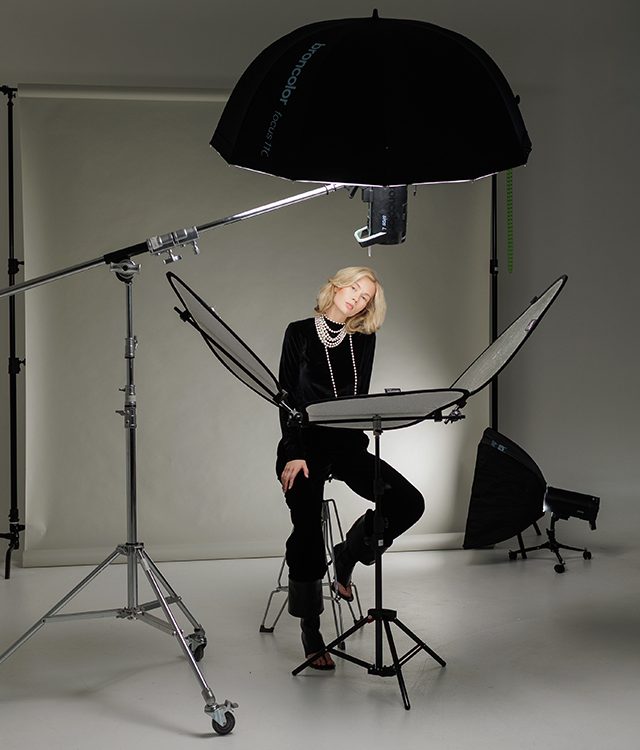
This is my go-to base setup for E-commerce shoots. I use a white background roll, a Siros 800S with a softbox/reflector, and a few boards. That's it!
I place the product and hang the Siros 800S with the softbox above it. This light source will illuminate the entire setup and gives a realistic drop shadow to the product.
Then, depending on the material of the product, I either use a softbox or an L40 reflector with a diffusion panel. For example, I use the reflector with a diffusion panel if the product is reflective and requires more gradient.
The boards I place around the product to add dimension/depth. The color of the boards - black or white - depends on whether I am trying to increase or decrease the contrast. For example, I have a white product on a white background, it starts to look very flat. So I add a few blackboards around the setup so that the contrast to the product is higher.
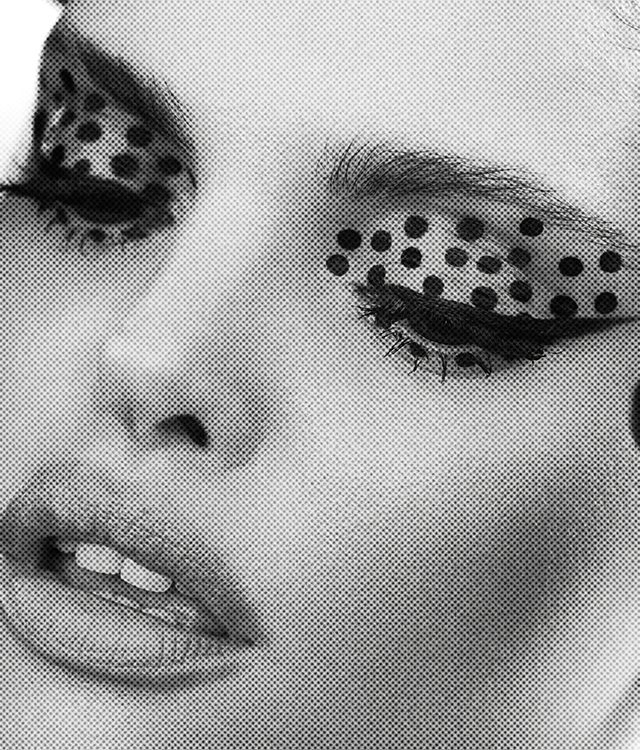
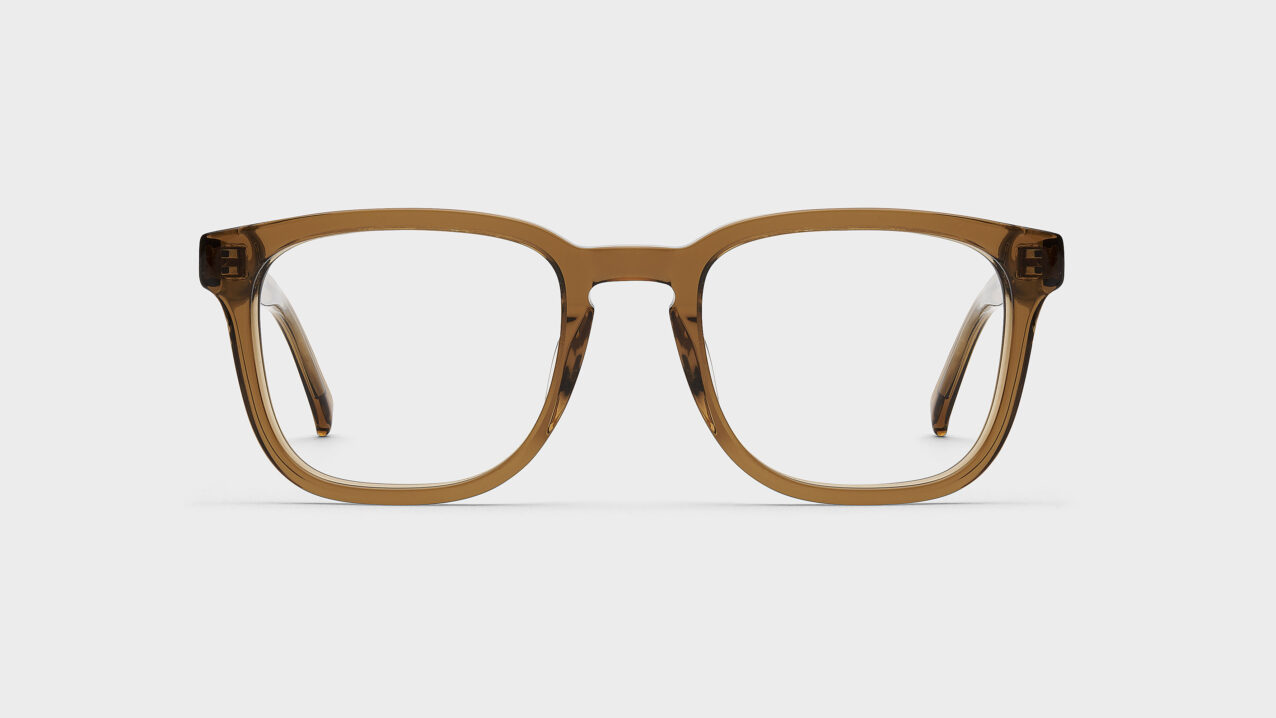
This layout is great for products such as glasses, beauty vials, product packaging.
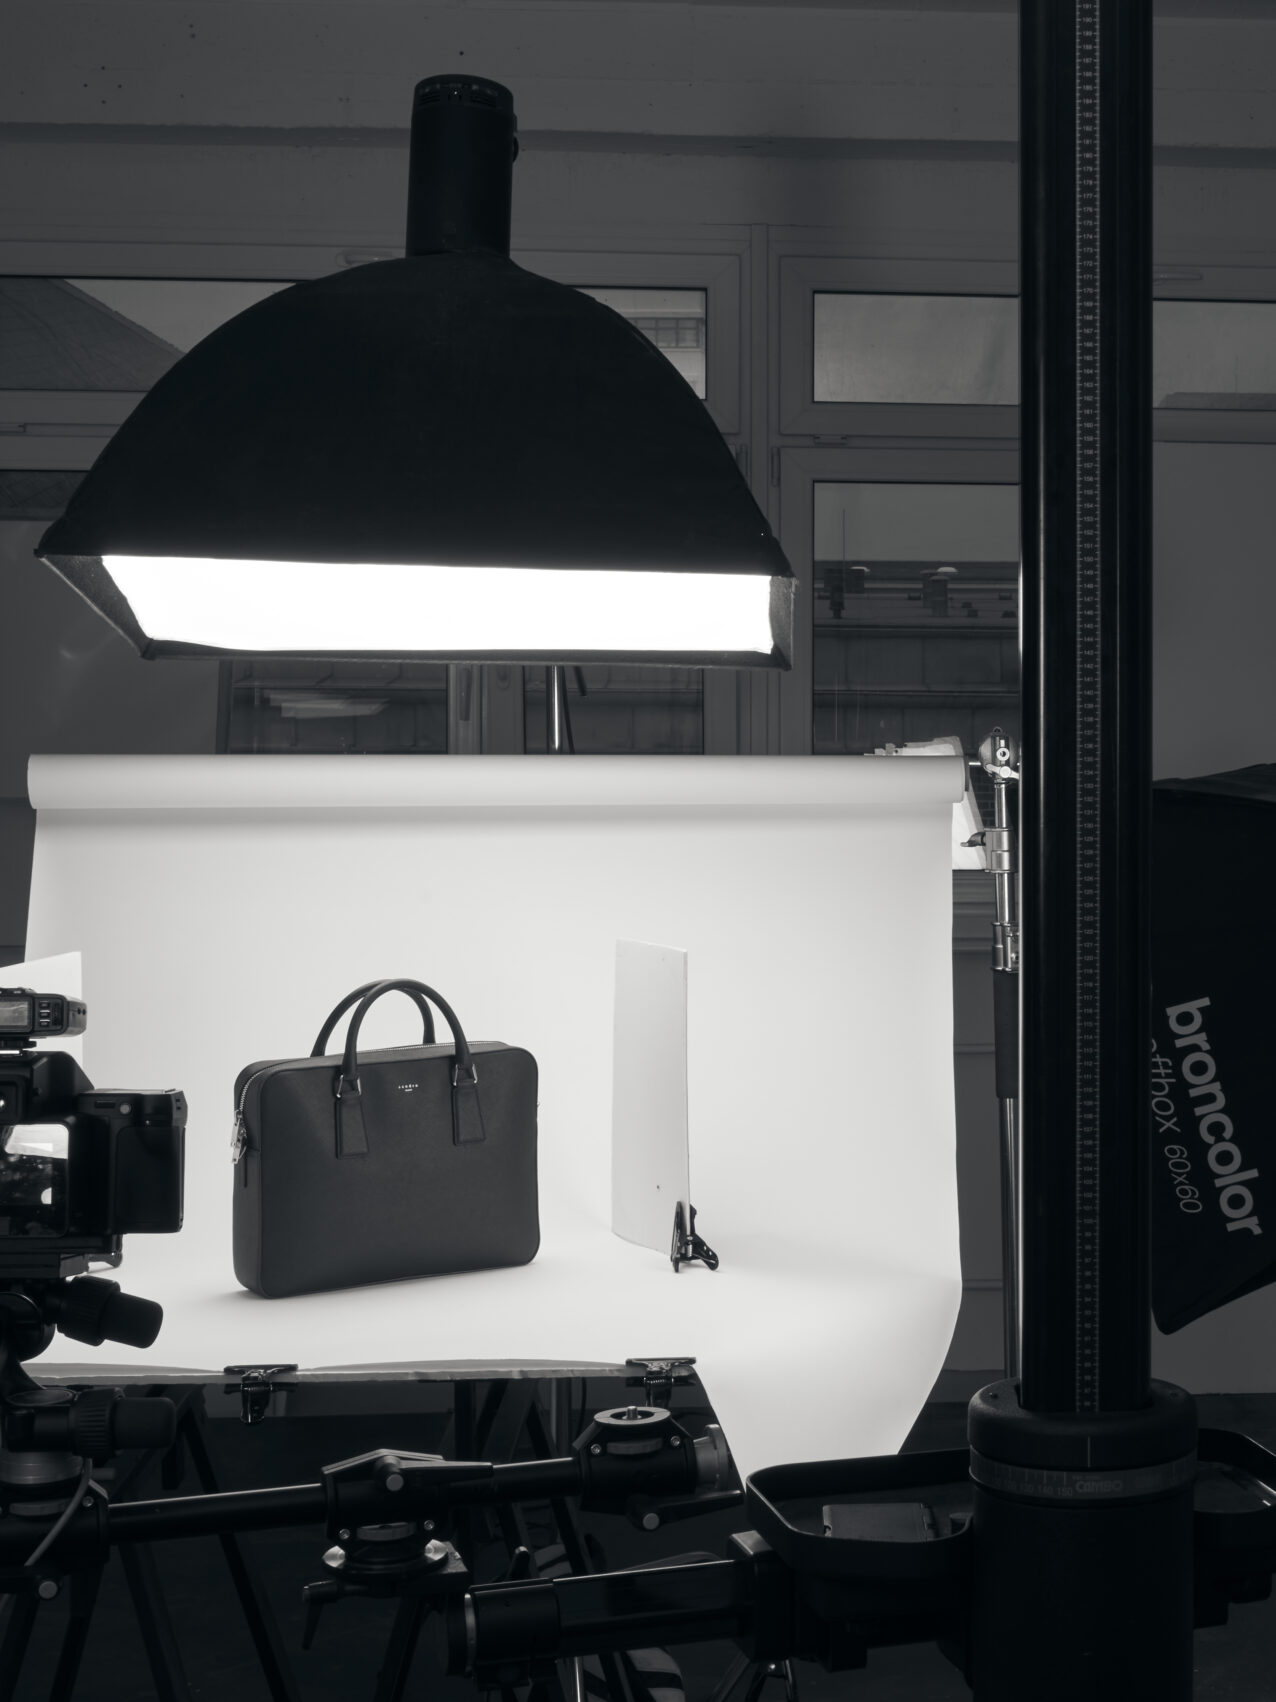
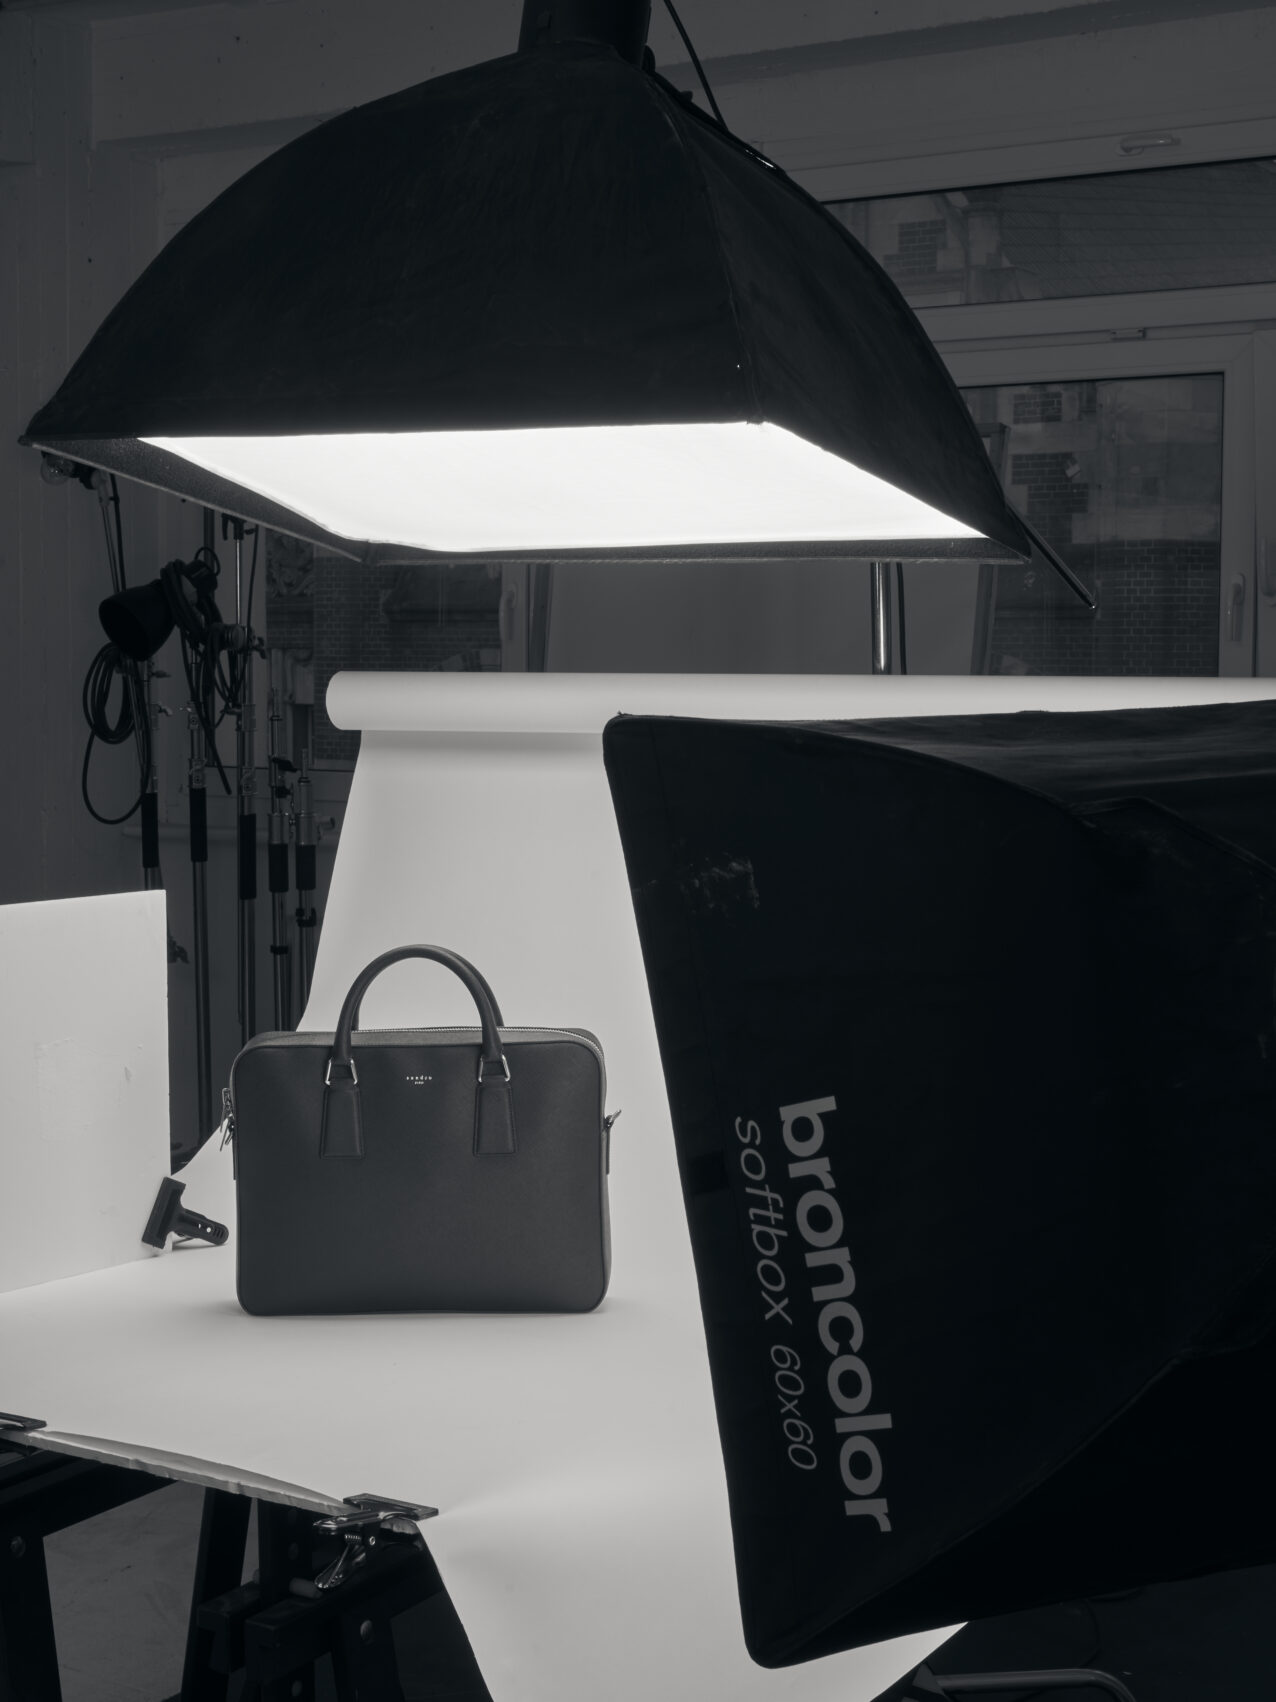
Two Light Sources
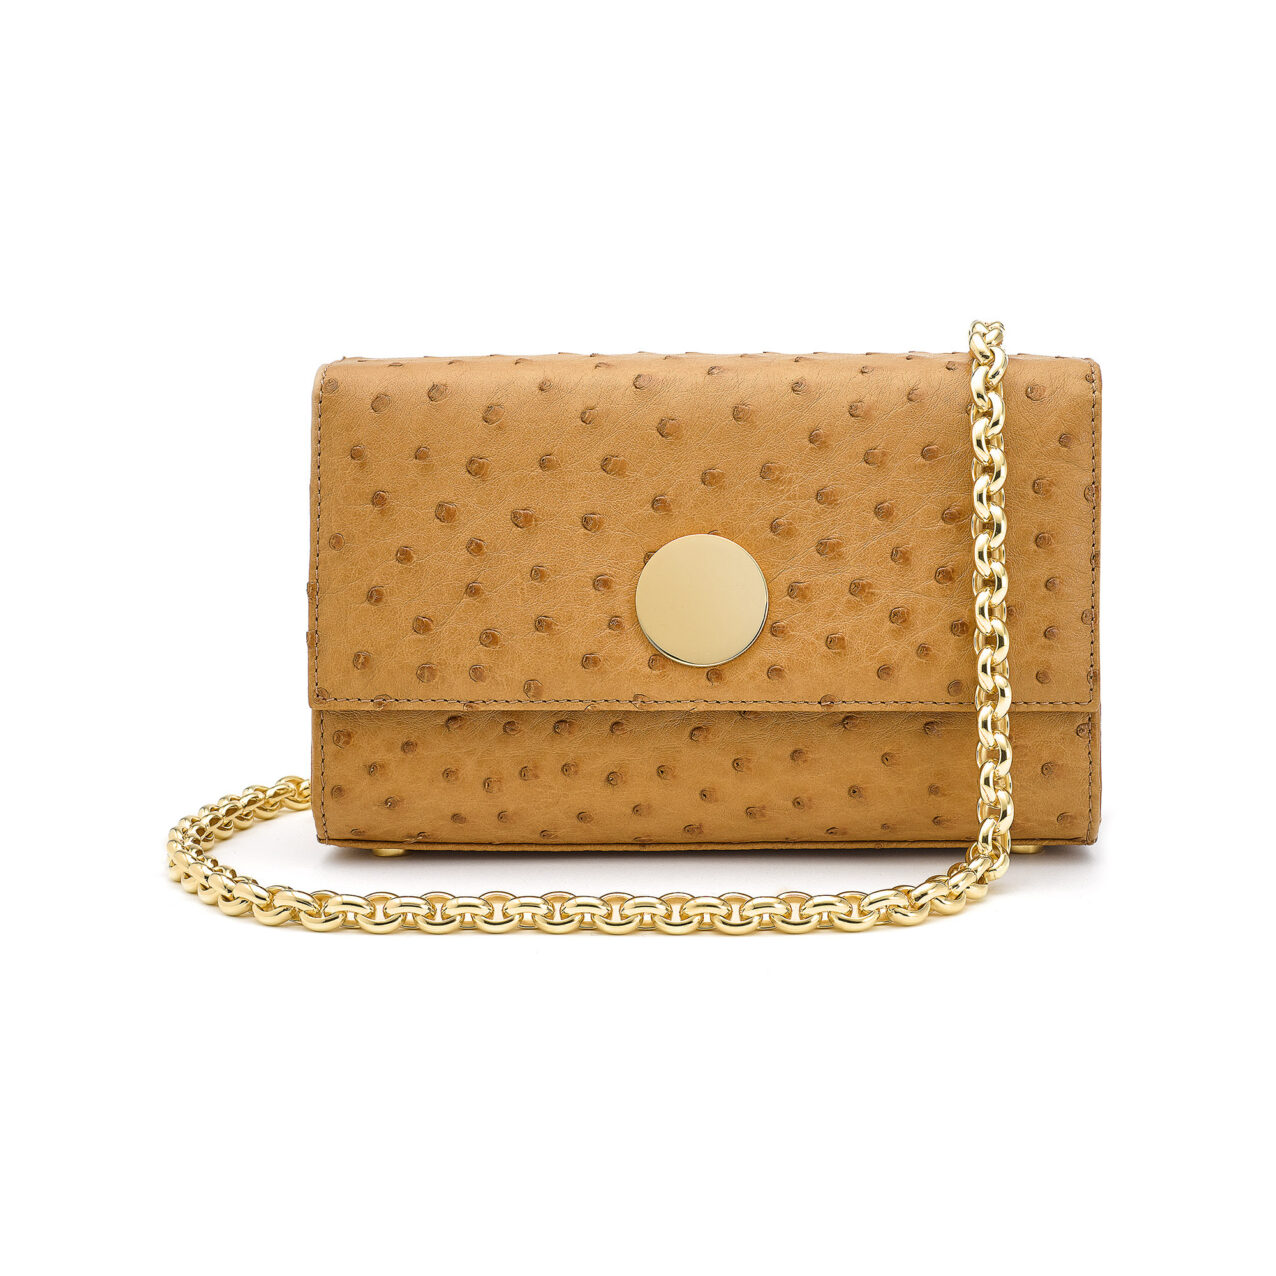
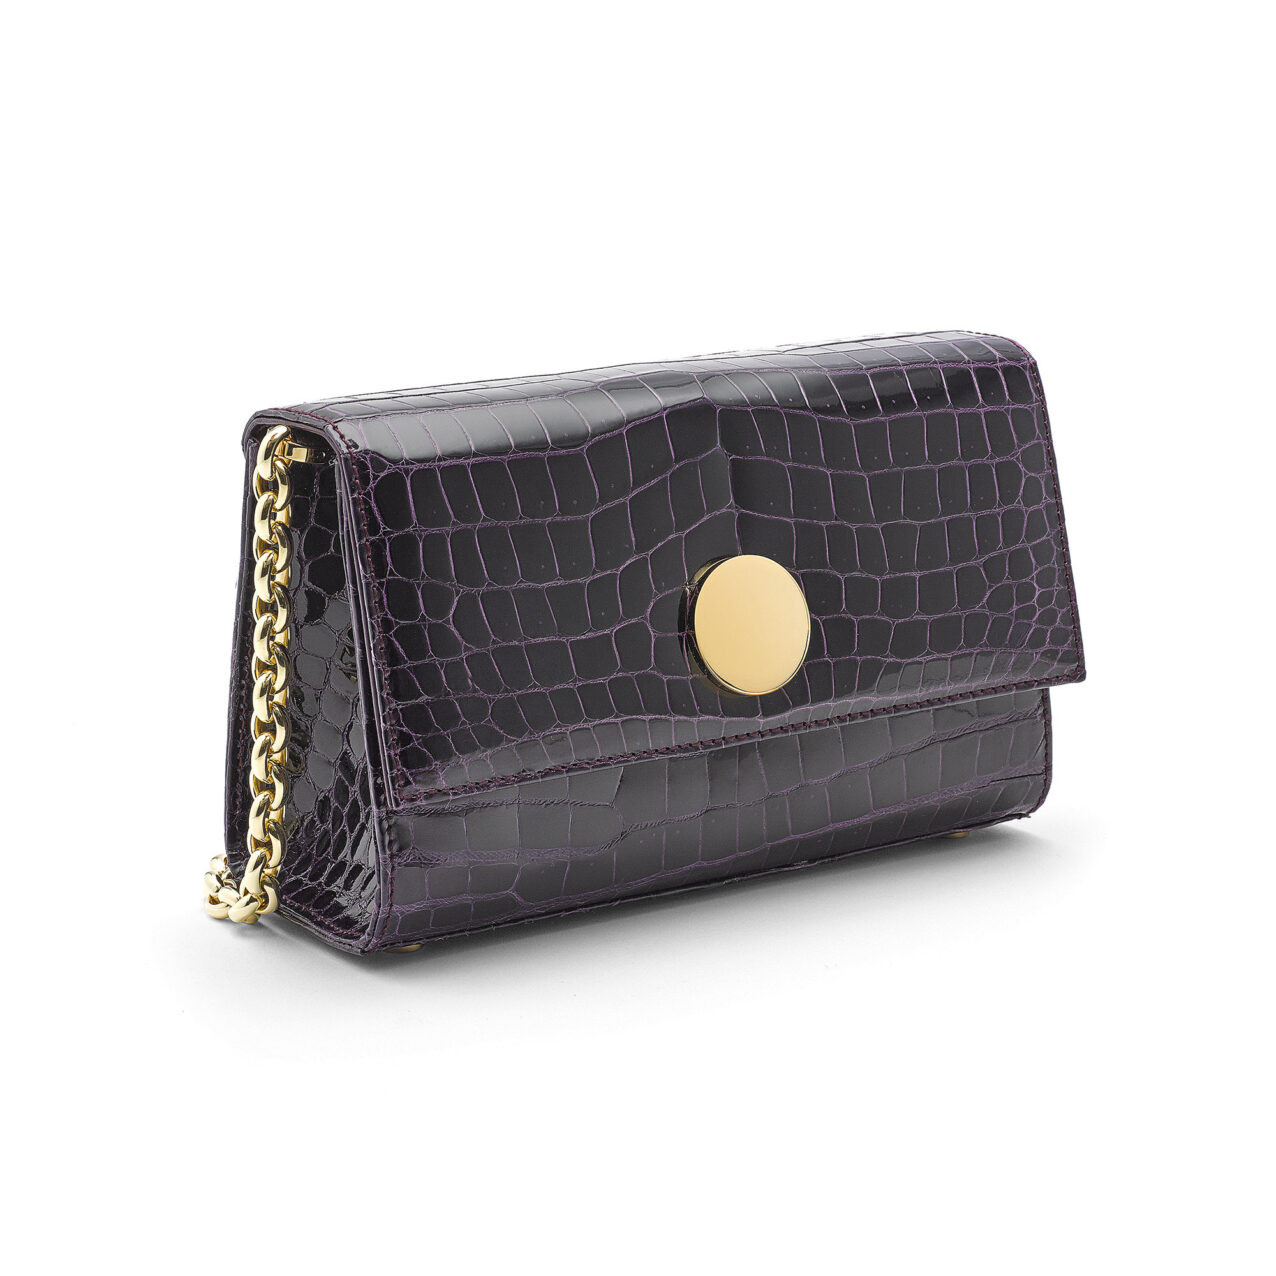
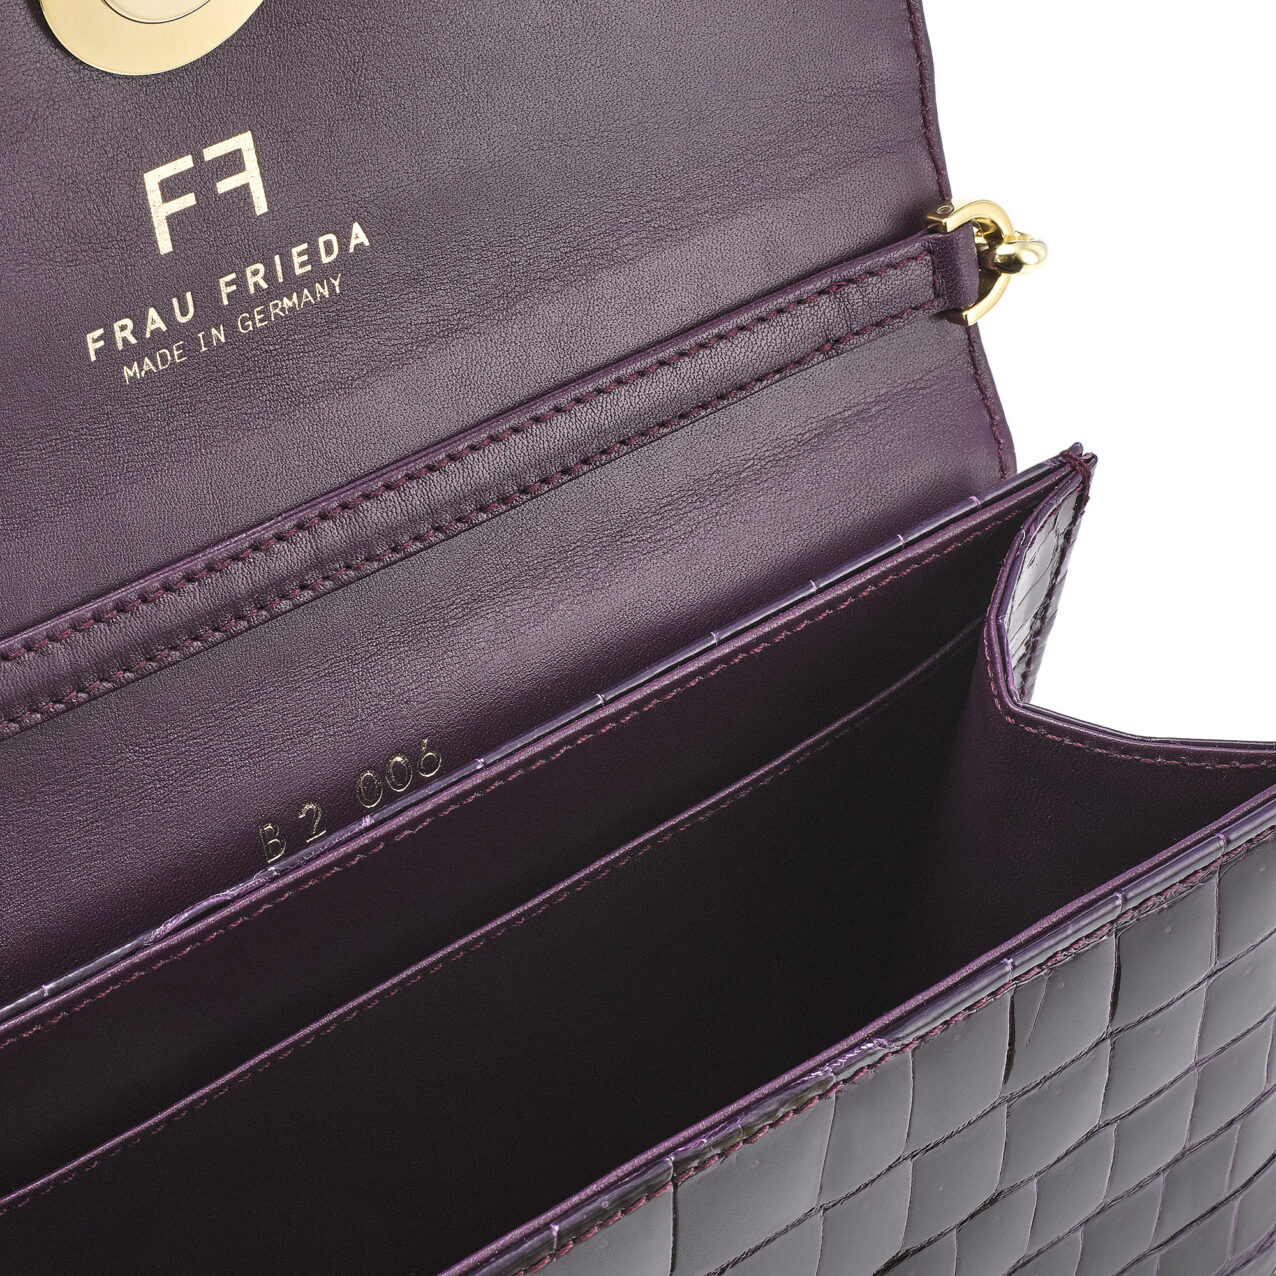
For this, I follow the basic setup I used for one light source. I then add a second Siros with a smaller softbox at an angle to the side of the object. This will then focus the direction of the light, giving the product, even more, depth/structure. Then, just like the previous setup, I use boards to adjust the contrast of the product. Again this is very simple but gives you that added dimension needed for slightly more complex products such as for handbags or when photographing clothing on a mannequin.
The downside of the two light setups is that sometimes it gets tricky to highlight the product and get an even white background. This can be fixed in post-production but if you have an additional light source I would recommend the layout explained below.
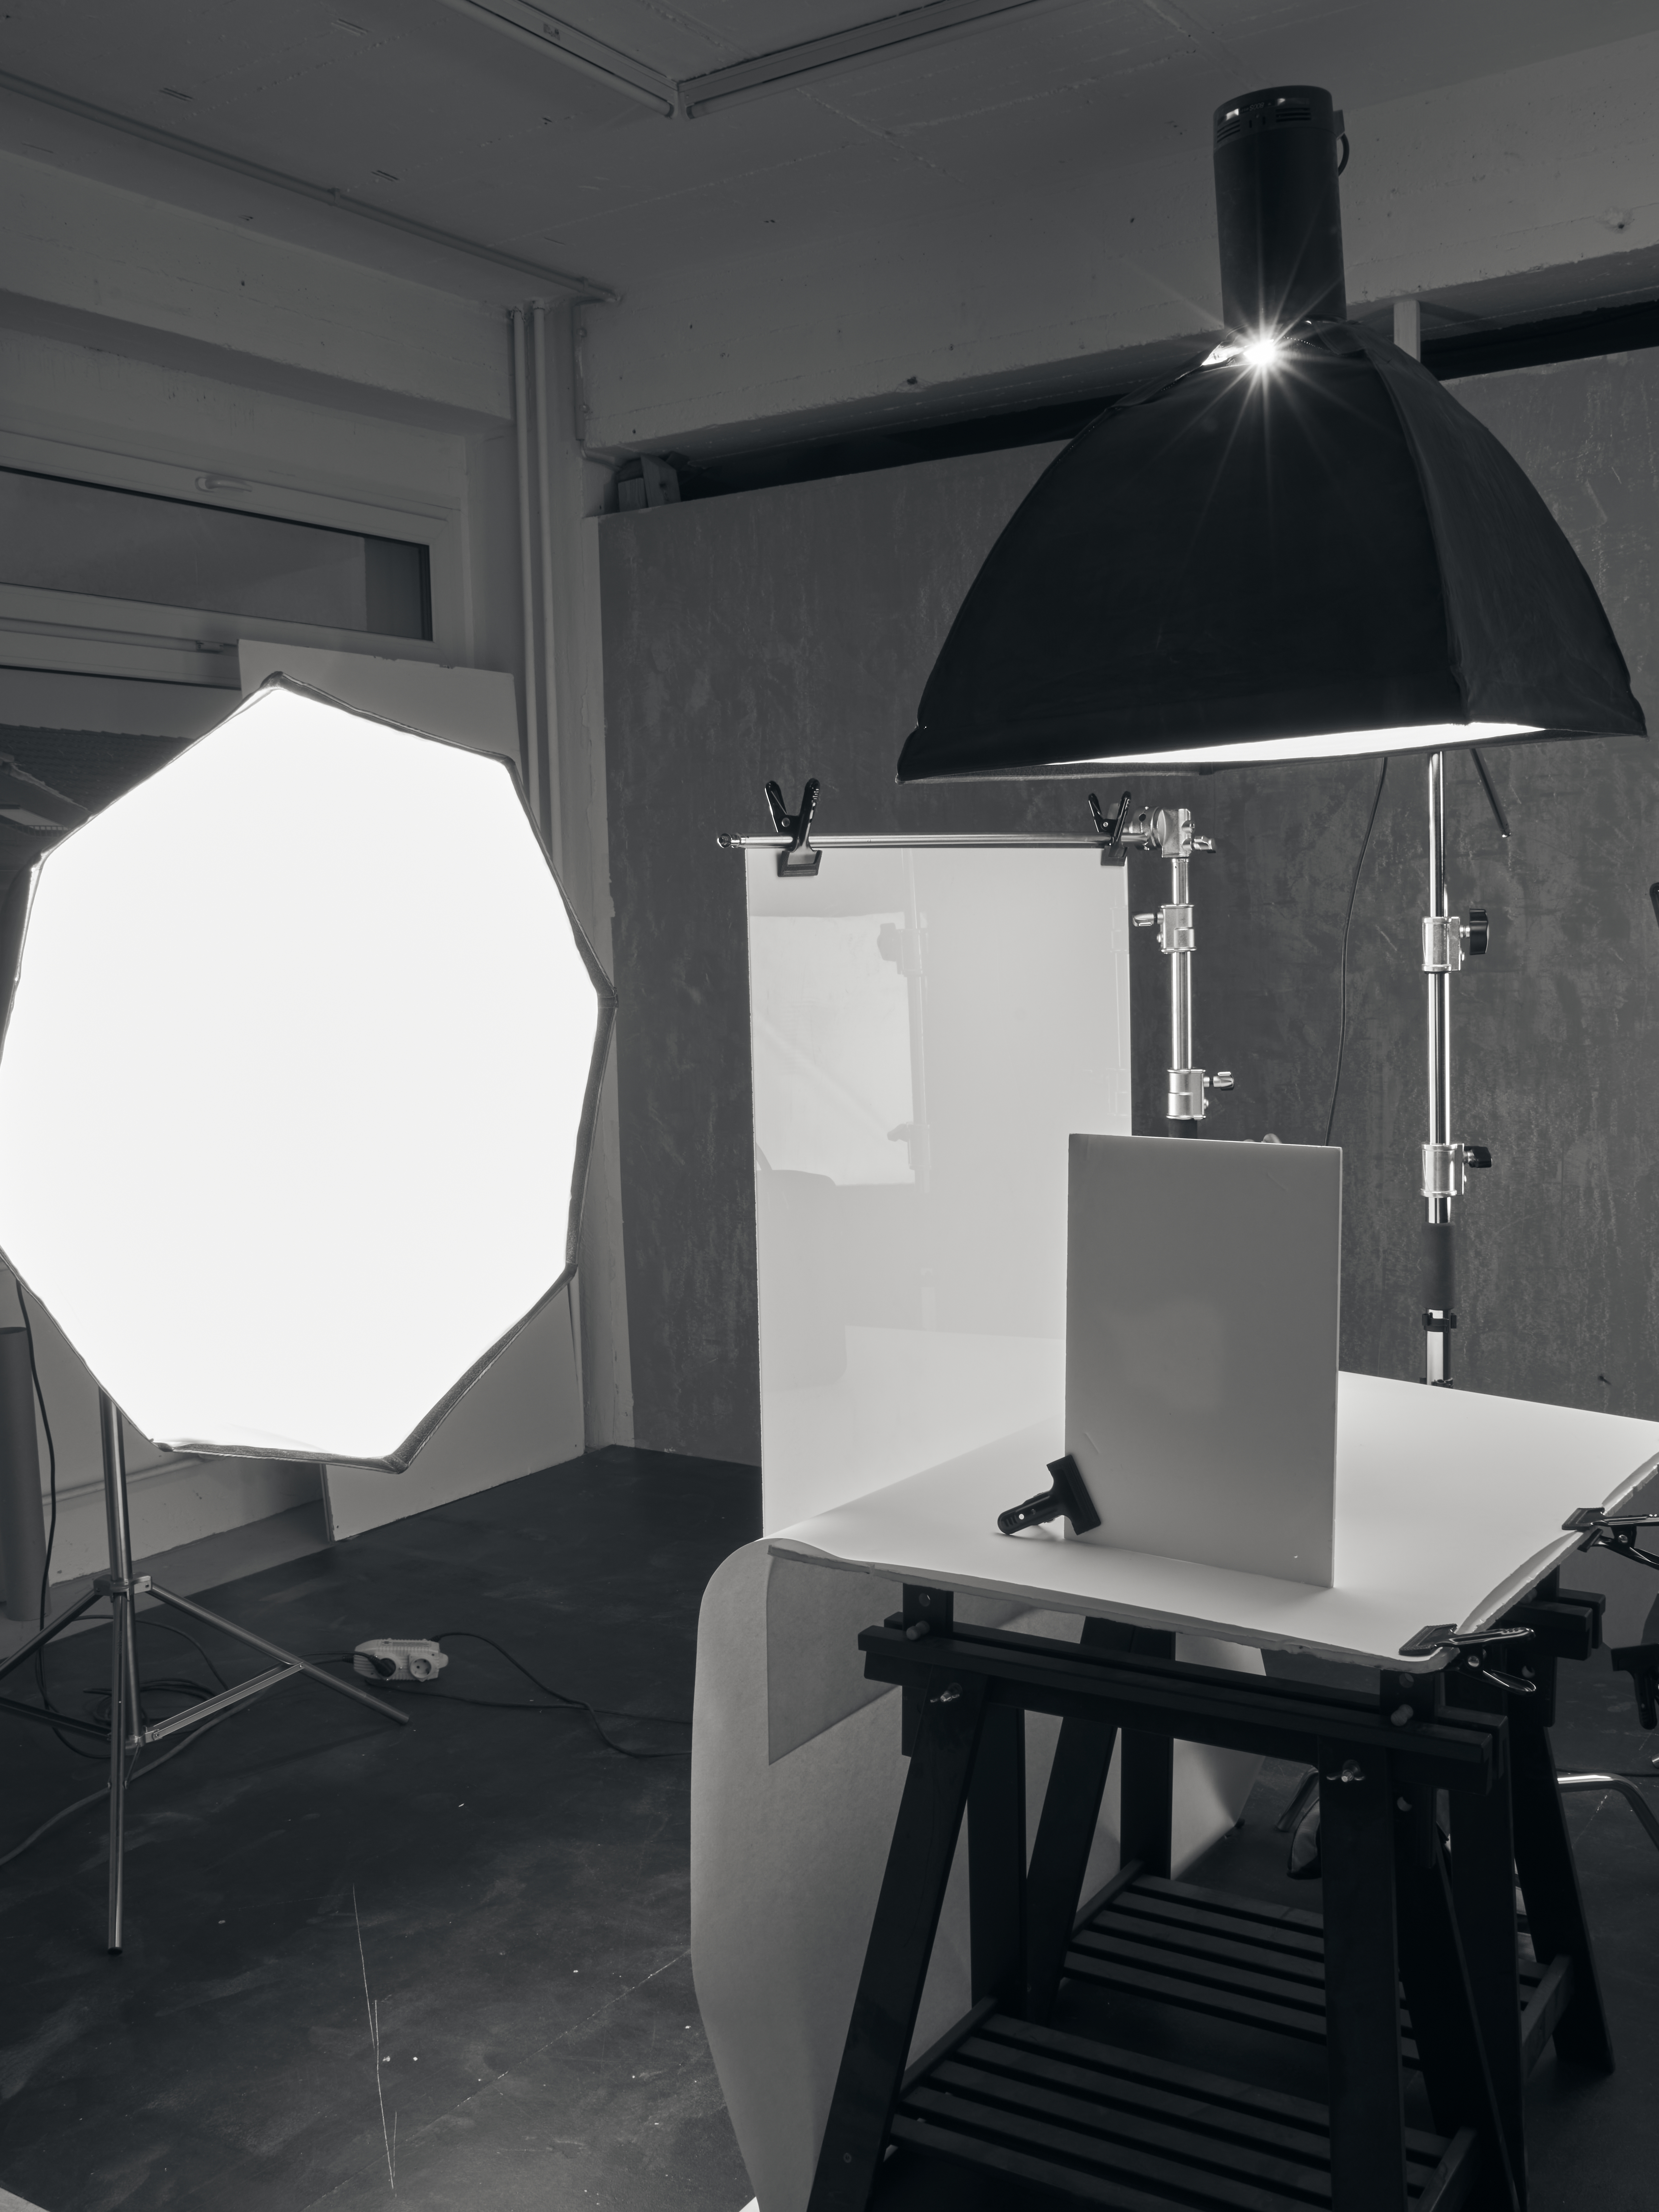
Three Light Sources
For this, I follow the same setup explained above, but instead of using an infinity background, I use a plain white underground and place a diffusion panel or white plexiglass behind the product. I then place a third Siros with a large softbox, at a distance, behind the diffusion panel. The Siros silhouettes the product and further defines its structure, whereas the diffusion panel evens out the light so that there is an even white tone to the background. I am now able to take a photo in which the product is well lit, has good contrast, and looks vibrant with the background having an even white tone.


I hope you enjoyed coming behind the scenes to see how I set up for E-commerce
To check out more of my work visit nwstudio.de or follow me on Instagram @nilswilbertphotography.