Cosmetics shot with seven lamps - step by step
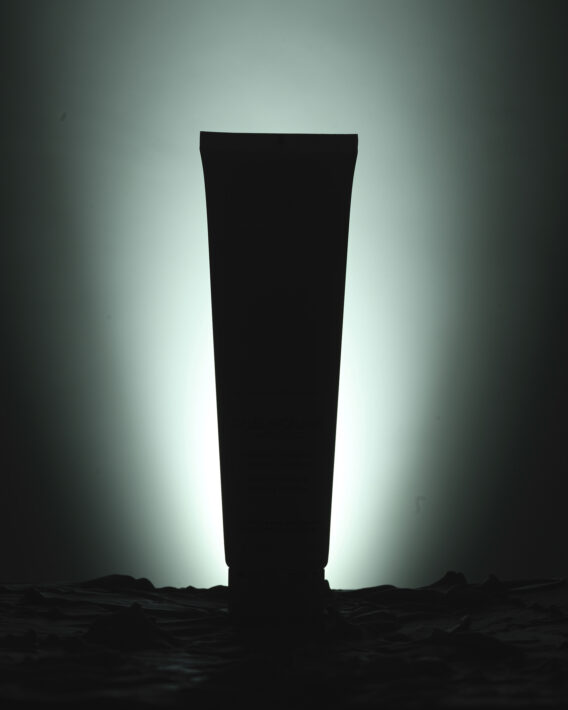
In the process of creating the most eye-catching image of a product, the light has one of the highest impacts. The light makes all the difference particularly when the object has gloss or reflective surfaces. Not less than seven lamps together with modifiers were used for the following cosmetics shot.
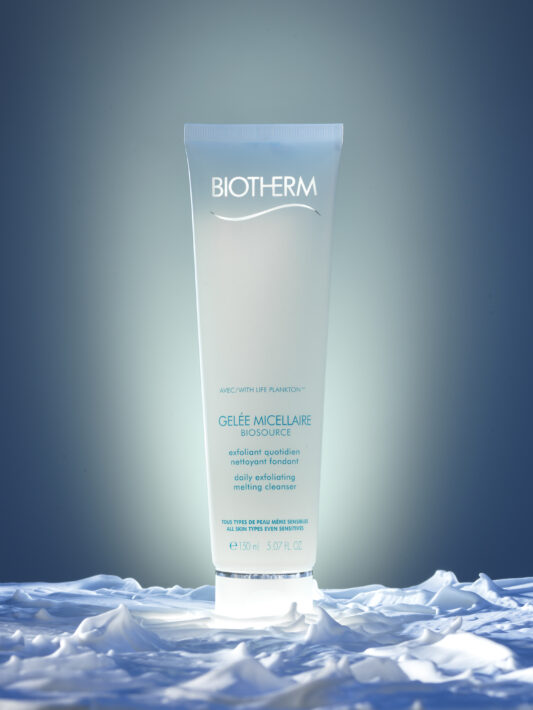
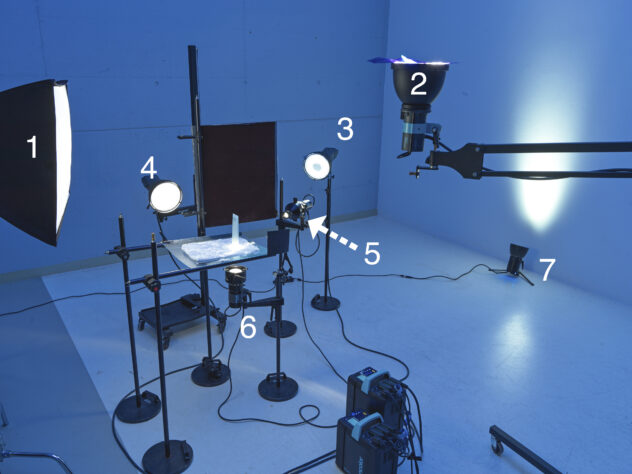
As on many sets of professional advertising shots, the equipment used can seem cluttered or overdone at first glance. However, when looking at the final photo together with the BTS shot, it becomes evident that each lamp had a specific task and was needed for the overall artwork. Commercial photographers know the challenge not only of having enough light available, but also of shaping it just as you like. For this reason, broncolor places great importance to the variety of light shapers for all lamps as well as to the wide control range on all products. The photographer's creativity must never be limited by technical constraints.
A challenge in product photography - especially with smaller objects
such as cosmetics, make-up or also jewellery - is the exact control of
the light. In this example, this was achieved by using the Picolite with
a mounted projection attachment (connected to Scoro 3200 S).
In the following, we show step by step the task of each of the seven lamps used until the final result.
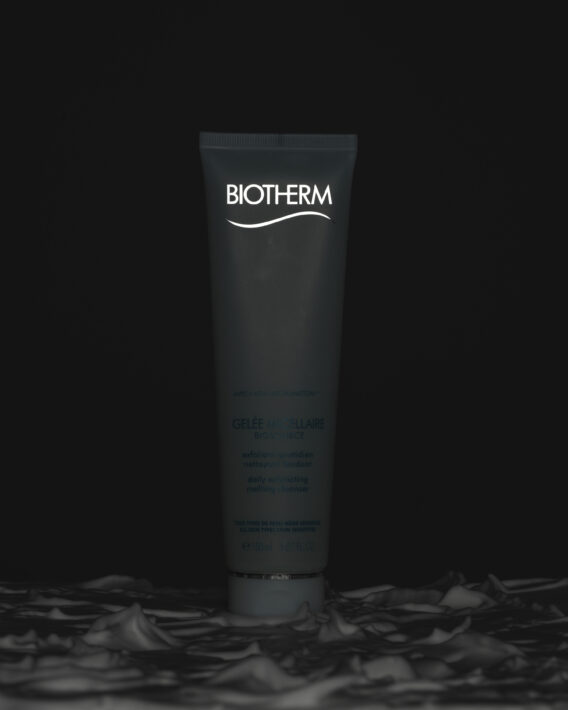
Light 1
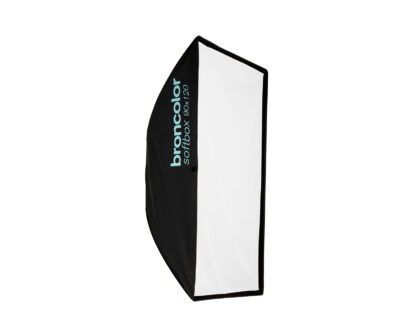
With (partly) reflecting objects I always start the setup with the light relevant for the reflections, because this determines the position of camera, lamp in relation to the camera. Here, a 60x100 cm softbox provides the reflection on the lettering.
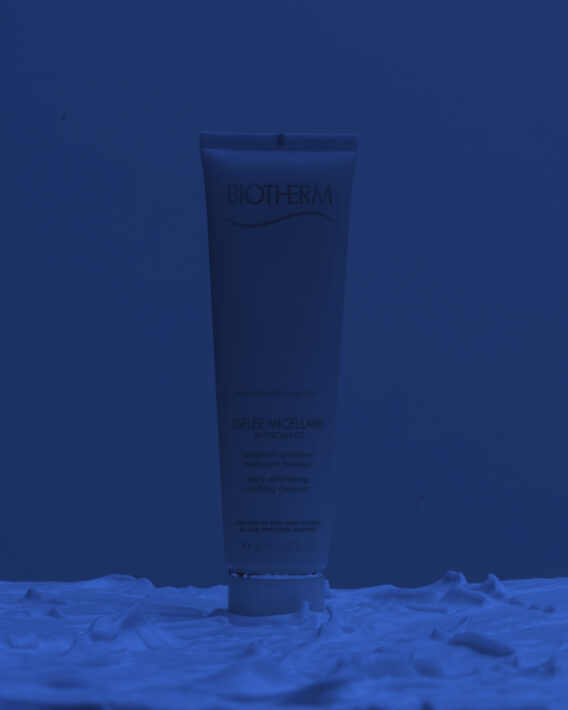
Light 2
A diffuse, indirect light bathes the whole scene in a blue and slightly greenish basic mood. The colour filters on the P70 reflector are selected to match the colour of the object.
Light 3
The third light is the main light: a P70 standard reflector with a honeycomb as backlight from the rear left. This dominant light illuminates the left contour of the object much too brightly - the black flag reduces this unwanted effect.
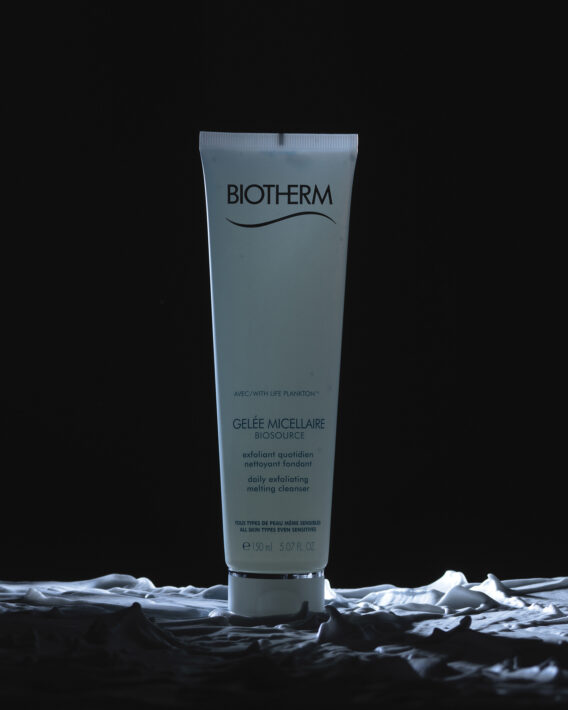
Light 4
This black flag also drastically reduces the light on the background, which, by the way, consists of shaving foam. To show its structure also in the foreground, a second P70 is necessary.
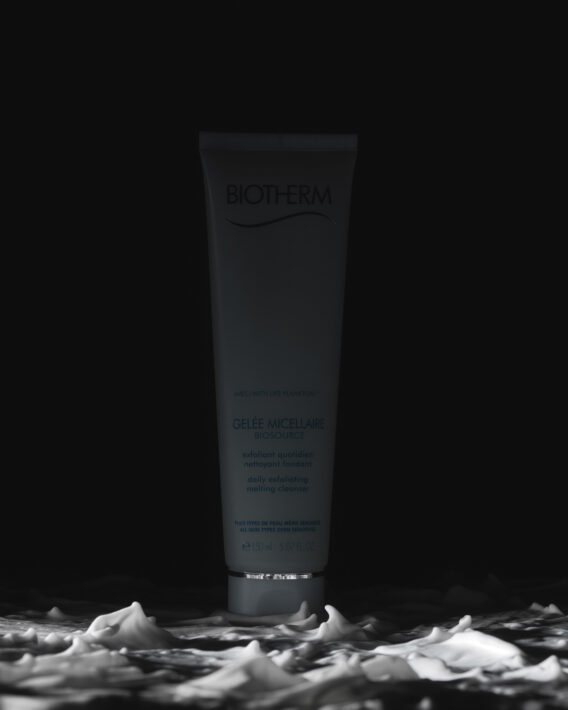
Light 5
The main light (3) is not strong enough to show the transparency of the object clearly. A Picolite with projection attachment corrects this. The aperture sliders are used in such a way that the area behind the writing remains dark and it is therefore easier to read.
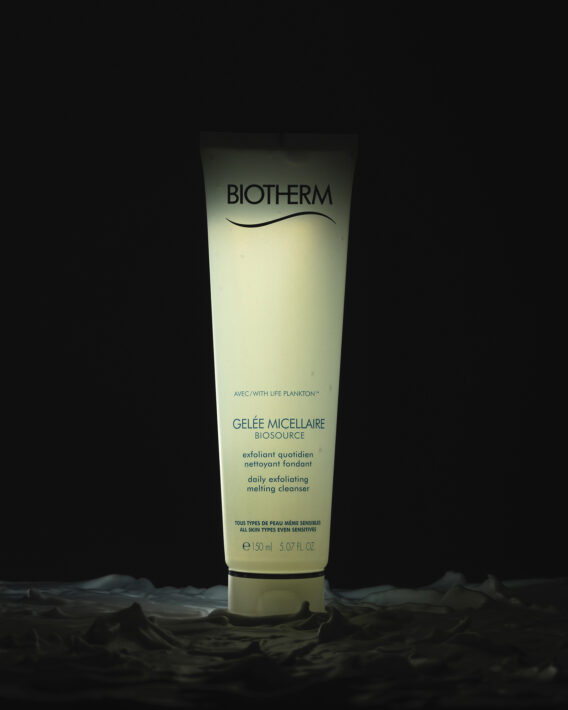
Light 6
The object should appear in a spot light, so the shaving foam underneath is transilluminated with another Picolite and focused Fresnel spot.
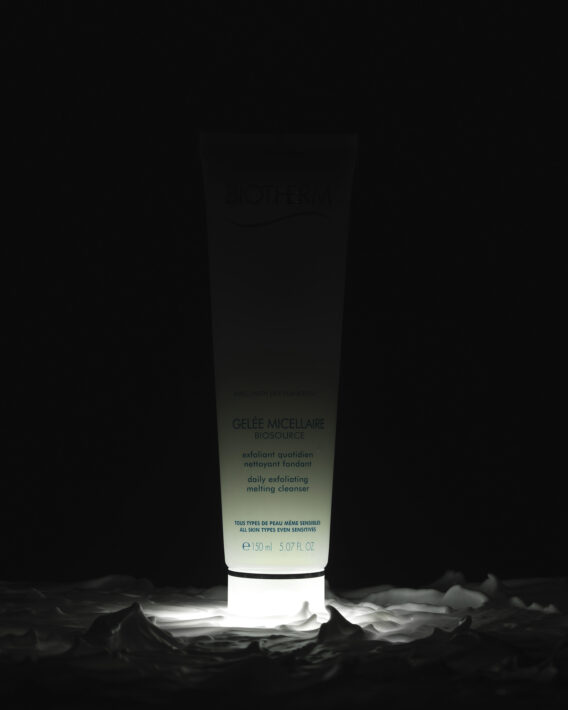
Light 7
Finally, the background light (an LED F160 with L40 reflector and honeycomb) supports this spot effect. This continuous light is exposed for about one second and slightly softened with a soft focus filter.
Recommended reads: 8 Essential tips for shooting makeup & cosmetics product photography by Karl Taylor Education


