Known for our extremely short flash durations, we were asked if we could photograph a "powder explosion." The photo to be created should illustrate the explosion of freshness in the mouth, promising the advertised product (Breath Strips and candies).
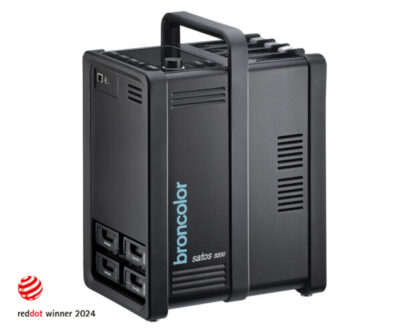
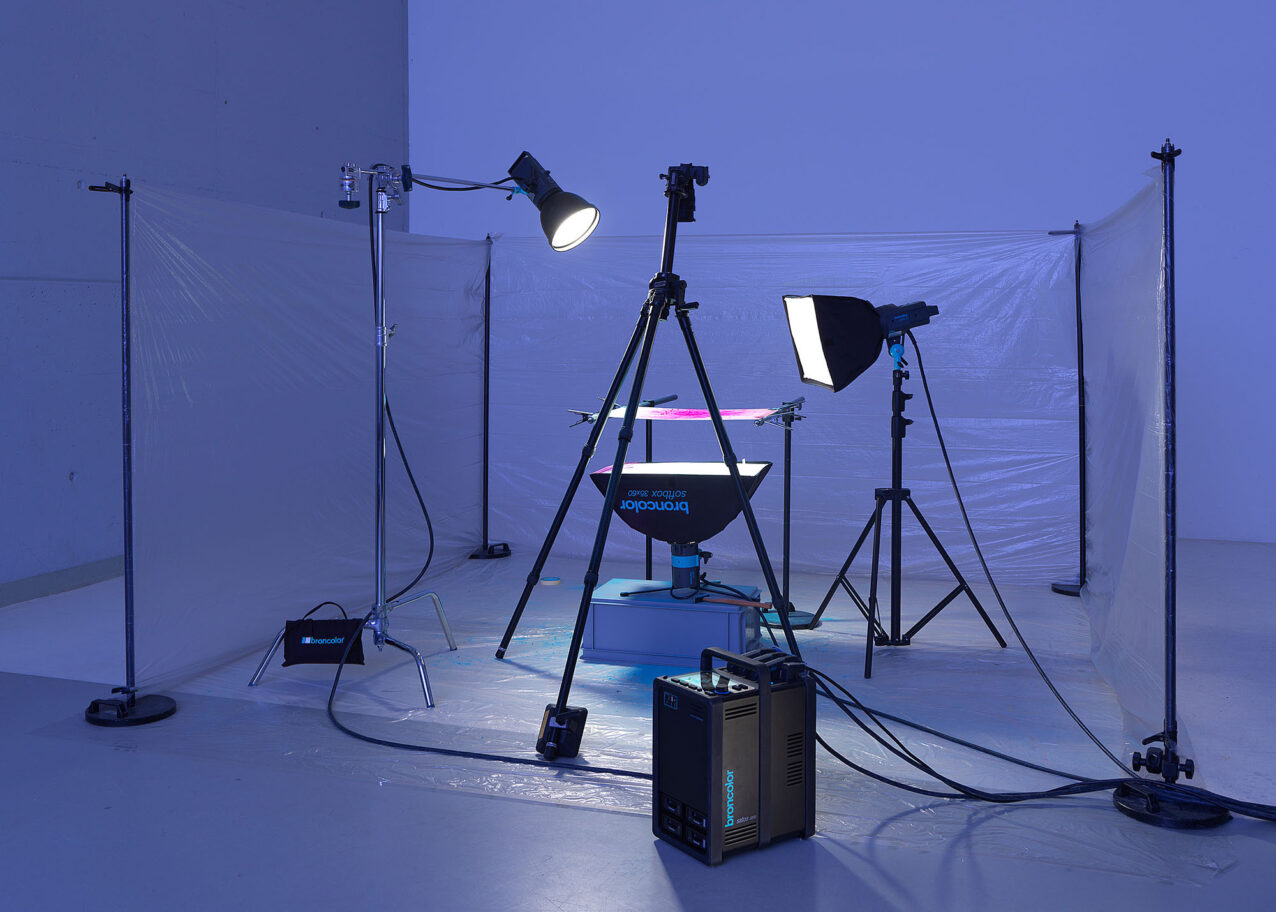
We were less concerned about whether the photograph would be absolutely sharp, as we could rely on Satos with flash durations of up to 1/28,500s. To truly benefit from these extreme values, we had to work with reduced power. A high-intensity reflector (an open P70 as the main light) and two closely positioned softboxes (35x60 cm) for fill light and backlighting were used. In combination with a sensitivity setting of ISO 800, we could even work with aperture 22 and corresponding extended depth of field. A mirrorless full-frame camera was used.
A more problematic aspect was a non-photographic one: the detonation technique. How do we achieve a beautiful, repeatable explosion with a small amount of powder?
The first attempt was made with small carnival firecrackers buried under the powder. However, these proved to be very different in explosive power – most of the time, we only got a small crater in the powder mound – and there was a stench in the studio, but nothing useful.
As a second attempt, we tried using compressed air, which we pressed into the powder through a small hole in the acrylic plate. Again, only crater landscapes resulted, but nothing that could be described as an explosion in all directions.
We had to find a more widespread impulse.
The solution was ultimately simple (every solution is when you find it once...): we hit the illuminated acrylic plate from below with the flat side of a hammer. The sound of the impact simultaneously triggered the sound trigger.
With a Satos operated at low power, the recharge time of the capacitors is practically zero. Other sounds, such as the plate falling back onto the base, triggered multiple exposures via the sound trigger. This could be prevented as follows: First, the generator was programmed with a sequence of two flashes. The time between the two flashes (the interval) was also set so that the second flash only triggered after the shutter closed. With a shutter speed of 4s, we therefore worked with an interval of 5s.
The last parameter to be determined experimentally was the optimal delay (the time between the trigger's sync signal and the flash). A value of 0.02s proved to be sensible and was also set directly on the Satos.