In this tutorial, we will cover the lighting for flash photography using an example of an eye shadow box.
Your learning nuggets:
- How to photograph make-up
- Lighting setup
- Lighting matte, textured and glossy, polished surface at the same time
- The right use of light shapers
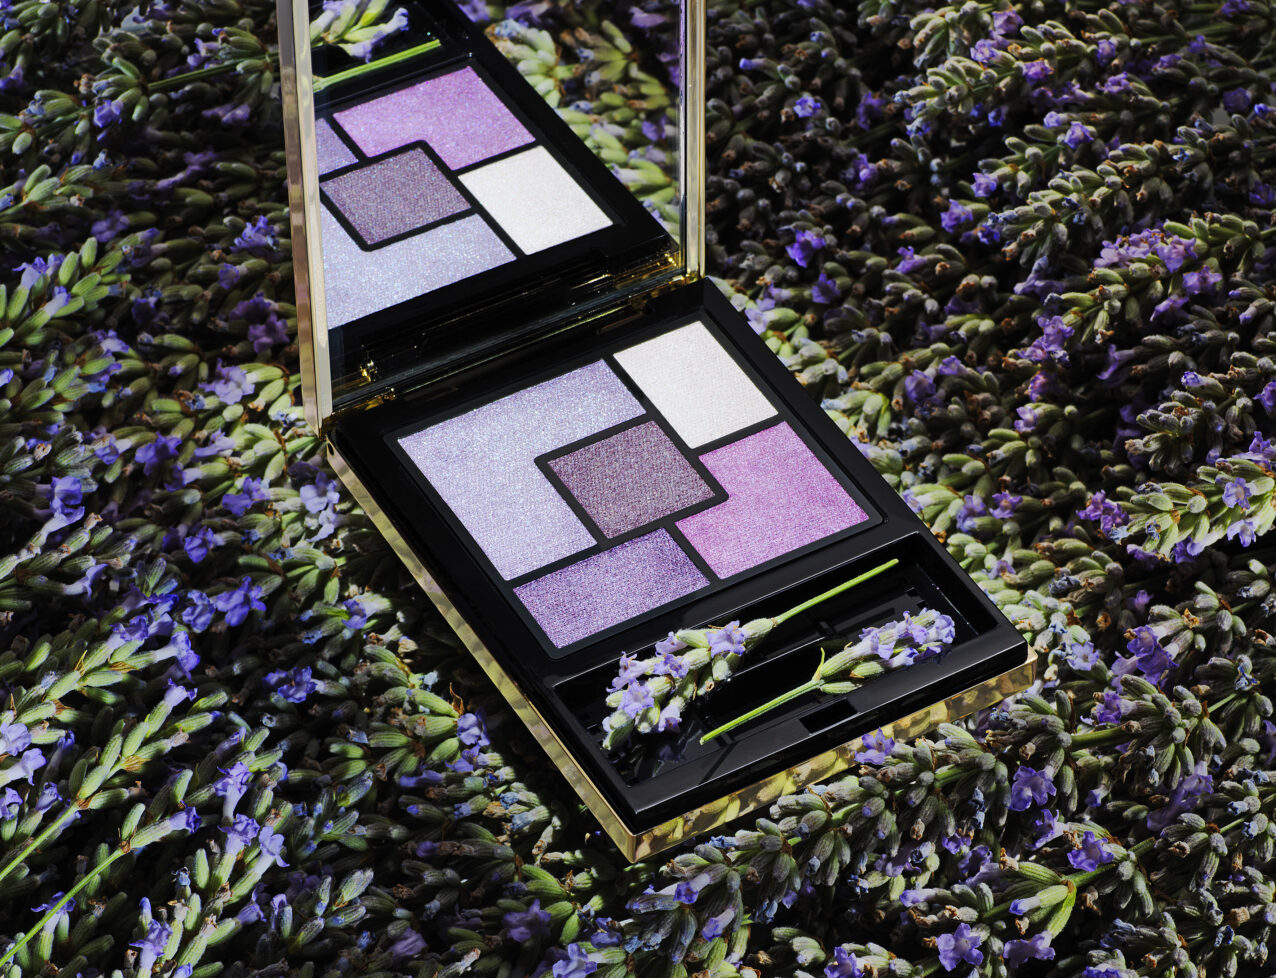
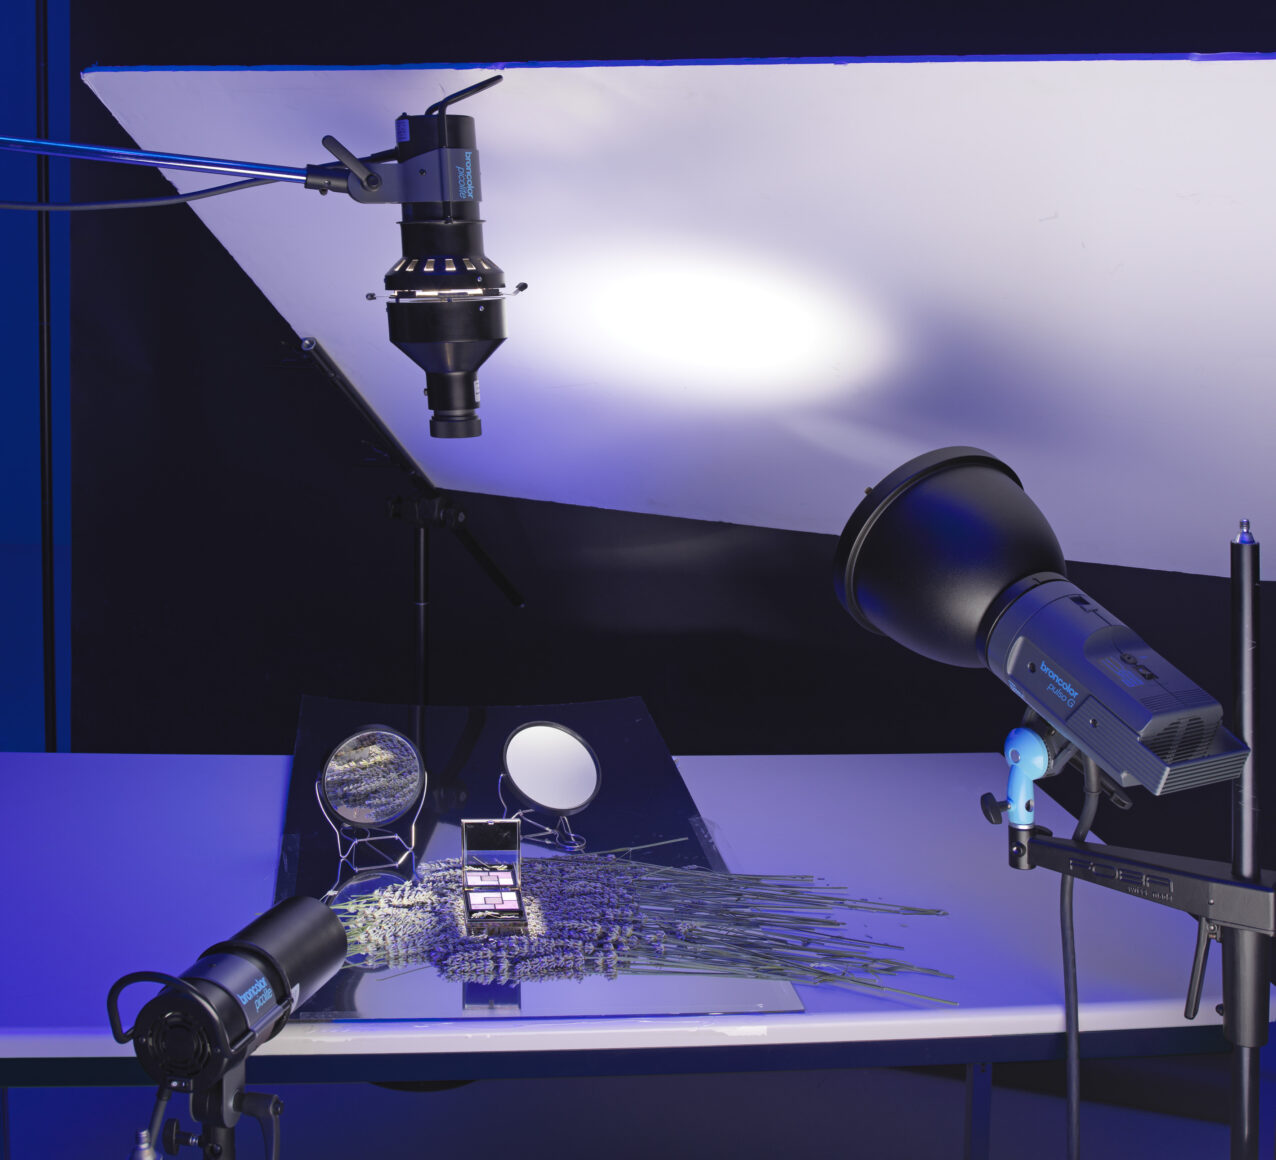
The concept for this make-up shot was to stage the object in a dominant spotlight on a bed of color matching blossoms. The problem I was facing is a very common one in many fields of cosmetic photography: I had to deal with very shiny parts and textured areas at the same time. Polished surfaces require soft lights while the texture is best shown with hard ones.
Let's have a look at the lights I used one by one:
I started with the spotlight from the top. As the small object (6 by 8 cm) is rectangular I used a Picolite with its projecting attachment. The 4 integrated templates allowed me to illuminate very precisely the Make-up box itself and just 2 or 3 mm around it. The rest remained completely black. This first light is extremely hard and therefore created some very beautiful shimmer on the make up pads.
I continued with the soft indirect light to take care of the shiny areas of the object. Here, I had to make sure, that the light is high enough! If the reflecting surface would be too low, I would also hit the blossoms, reducing the contrast there in an unwanted and uncontrolled way. Direct reflections on polished surfaces however do not depend on the distance to the light (but only on its brightness).
Until now, the bed of lavender is still almost completely black. So I could add another Picolite (this time equipped with a snoot and grids) to work out the texture. Two shaving mirrors added additional grazing lights. One reflected the light from the Picolite while the second reflected the soft light from the top.
The picture is shot with a medium format camera and a focal length of 120 mm. The exposure time was 1/125 s and the aperture f/ 22 at ISO 100.


