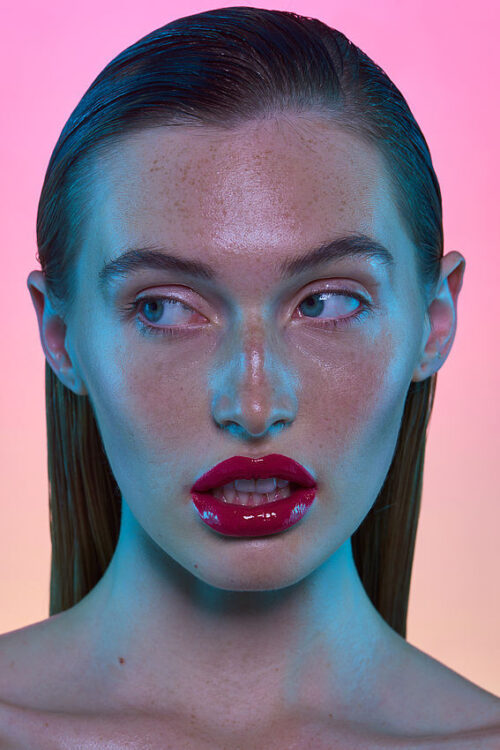
One of the things I appreciate the most about Cape Town are the amazing sunsets, which we are fortunate enough to experience. Although these flaming orange sunsets are spectacular, I much more appreciate the softness of the colours that follow after the sun has set behind the horizon. That is when the flames in the sky calm down to make way for rosy pink hues, faint yellow horizons and blue tinted landscapes. These colours became the lighting inspiration for this broncolor GenNEXT beauty story.

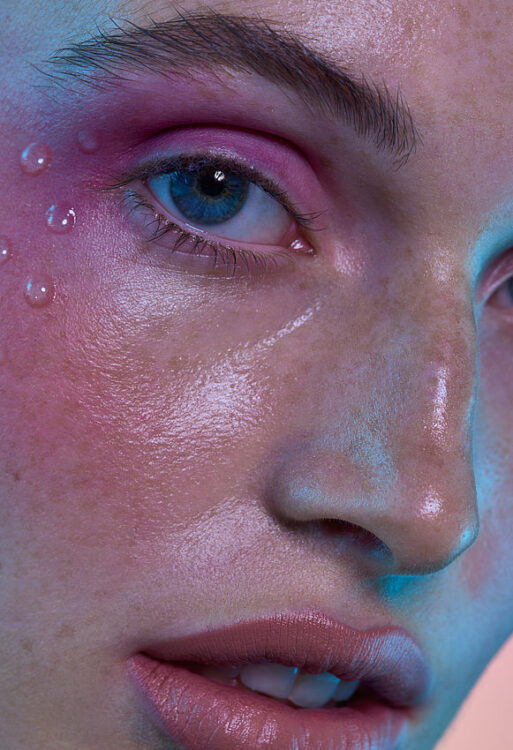
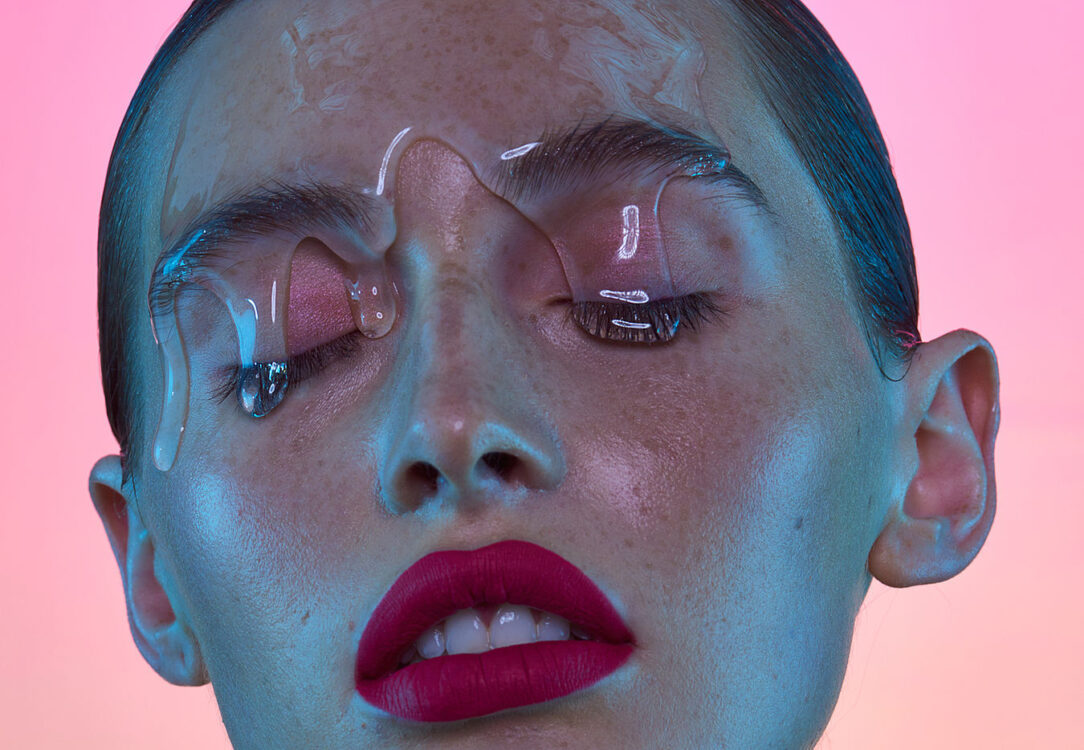
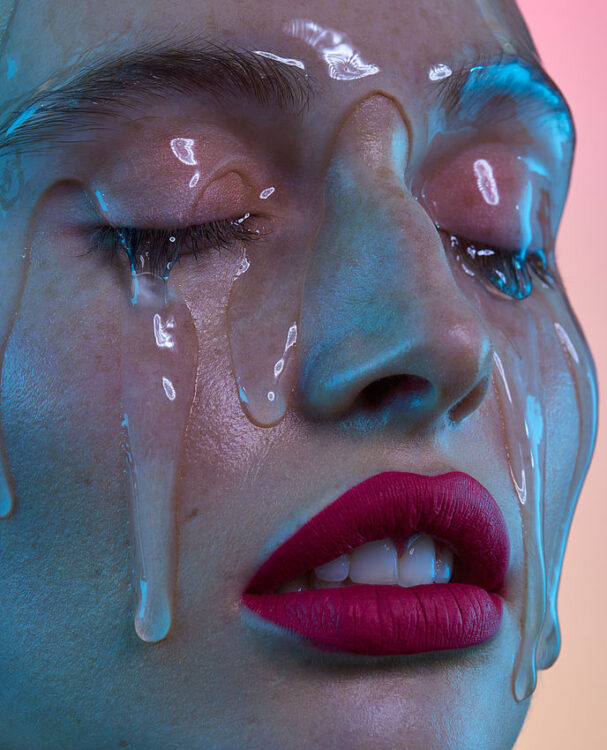
Sam Scarborough is a very talented makeup artist in Cape Town and has worked with brands like Avon, Ponds, Cosmopolitan, Men’s Health. He also was fortunate enough to do the makeup for Noami Campbell on more than one occasion. We have worked together on a few jobs in the past. So when Sam contacted me to collaborate on a beauty story, I was instantly excited. Sam’s concept was to apply running liquids and gels onto the skin in various creative ways to create unique and editorial makeup looks. Sam’s creative makeup concept and my lighting idea was a perfect match.
To stay true to the colours of the sunsets that inspired me, I decided to create a gradient background, similar to a soft yellow horizon blending into a rosy pink sky. In a previous broncolor GenNEXT post (Pin it up for Cosmopolitan Magazine) I used P70 reflectors covered with various gels and grids to colour my background. When I used that lighting technique, I was able to easily create a vertical gradient from left to right, but it became a tedious and difficult task to create a horizontal gradient moving from top to bottom. The colours faded on the edges of my frame and I struggled to keep the flash heads out of my compositions. By using an 8x8 scrim covered with a full silk as a backdrop and lighting it from the back, I was able to create the exact gradient I was looking for.

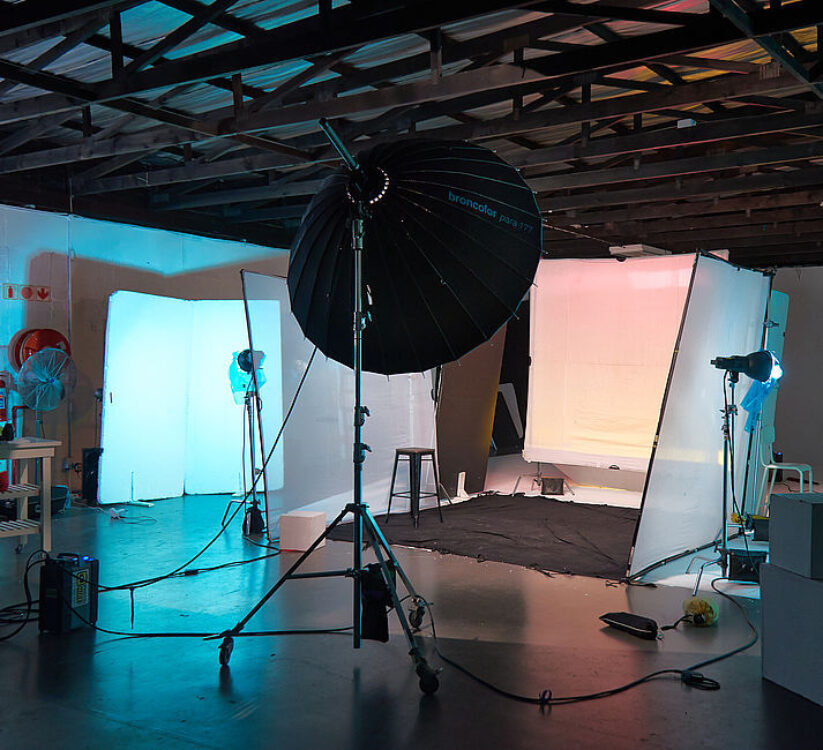
I used two broncolor Stripboxes placed on broncolor Pulso G 3200 heads and paired them to a broncolor Scoro 3200 S Power Pack. I covered each Stripbox with a different colour gel – one yellow and one pink. I positioned these Stripboxes behind the 8x8 full silk frame, then turned each Stripbox horizontally to assist in the horizontal gradient I was looking for. I raised my pink Stripbox very high with the head slightly tilted down facing the 8x8 full silk and placed the yellow Stripbox at a very low angle close to the floor also facing the 8x8 full silk. After that, I placed a silver poly board at an upwards angle in front of the yellow strip. This enlarged the light source of the yellow strip box and blended my colours together very nicely. Once my whole lighting setup was completed, I tested the exposure of the background separately to make sure I got a suitable exposure and colour for it.
The second part of my light setup happened on the opposite side of the 8x8. To create the blue tint, you would find in a landscape after the sun has set, I decided to use indirect lighting by bouncing lights off the white poly boards and soften the reflected light by using 1/3 silks.
I started by placing two poly boards on either side of my model and made sure it was quite a distance away. I positioned these polys at a 145° - 165° angle to each other so they created a slight corner.
Then, I placed one Pulso G 3200 head on either side of my model and positioned the head so that it was facing the white poly boards. I used a P65 reflector covered with a cyan tinted gel on each flash head. Behind these Pulso G 3200 heads I placed an 8x8 1/3 silk scrim on opposite sides closer to my model. When the heads flashed, the light was reflected off the white poly boards and the 1/3 scrim acted as a softener but also spread the reflected light a little bit more.
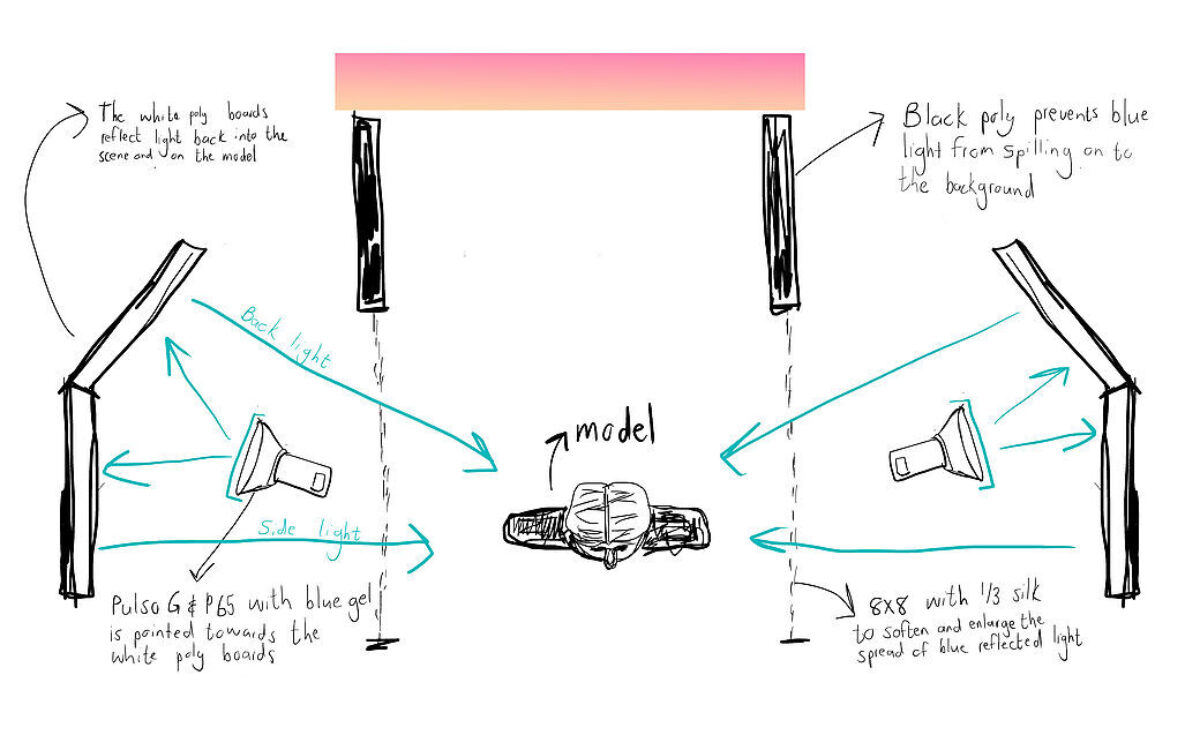
The poly boards were placed at an angle for a reason. One poly board acted as a side light when it reflected the light and the other poly, turned slightly inwards, acted as a backlight. To avoid any blue light spilling onto my background, I placed a black poly on either side that prevented any blue light from exposing my backdrop and affecting the colour of it.

When it came to processing and retouching, I had a much easier job than I usually do on other shoots. I ended up keeping the images quite flat and the contrast low. I didn’t adjust my curves or levels at all (I usually work them hard) and decided to keep the images very raw and simple. I did remove a few blemishes but didn’t have to go to the extremes.
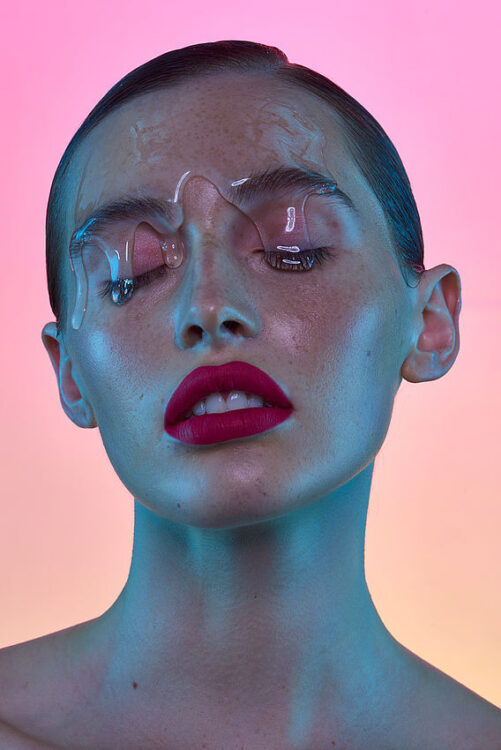
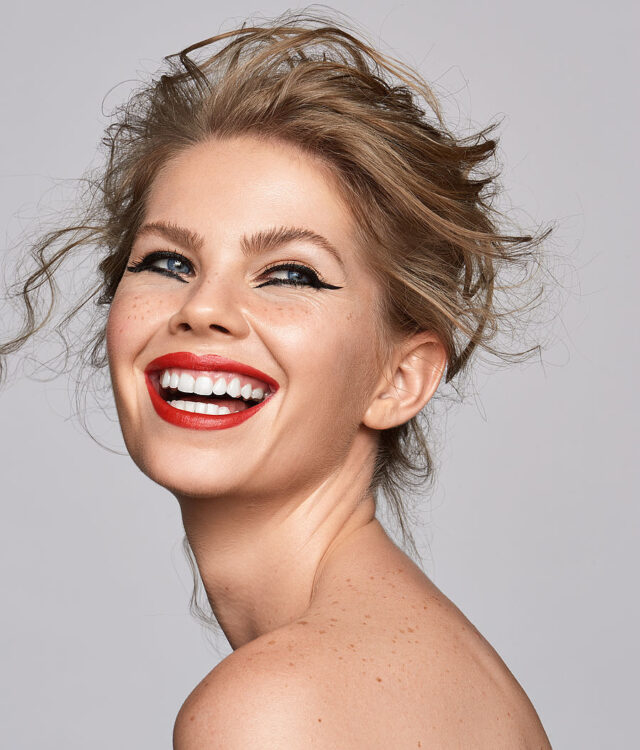
This shoot turned out to be a huge success. By using wet makeup looks and liquid gels on the skin, Sam’s makeup was able to catch and reflect all the various colours and lights that I used in my setup. The lighting complimented Chelsea’s flawless skin and the reflected cyan tinted light added a softness to the images that resembles twilight.