Hello everyone! For this month’s blog I want to share a behind the scenes look at a Cosmopolitan South Africa wig story that I recently shot for their April issue. I don’t know why it happens but I always tend to make my lighting setups really complicated. I tend to go overboard and end up hiring a ridiculous amount of lighting. I guess this helps me to be prepared for any challenge that might come my way during the shoot and allows me to have tools to play with. But sometimes it is not possible to get all the pretty broncolor lights you want, and you end up having to simplify. And by simplifying you end up taking a harder look at which tools are the most important for the job at hand. I tend to learn a lot more in situations where I need to simplify.

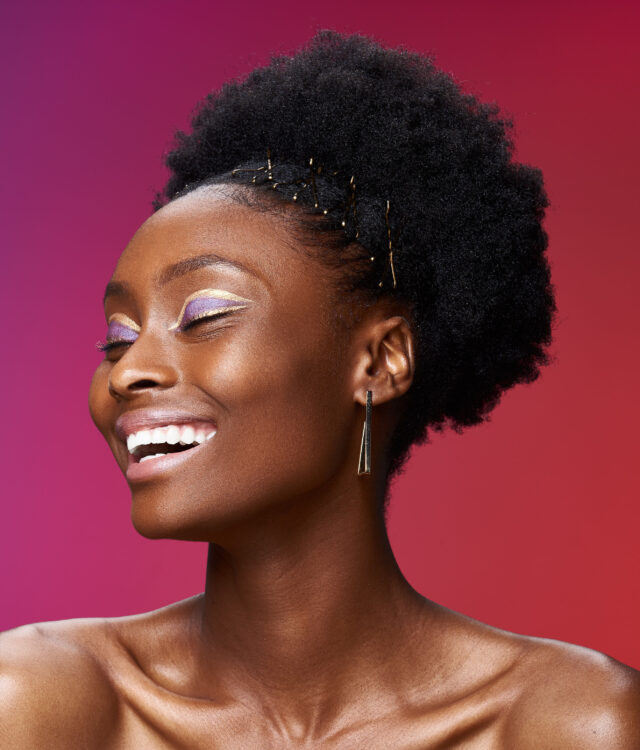
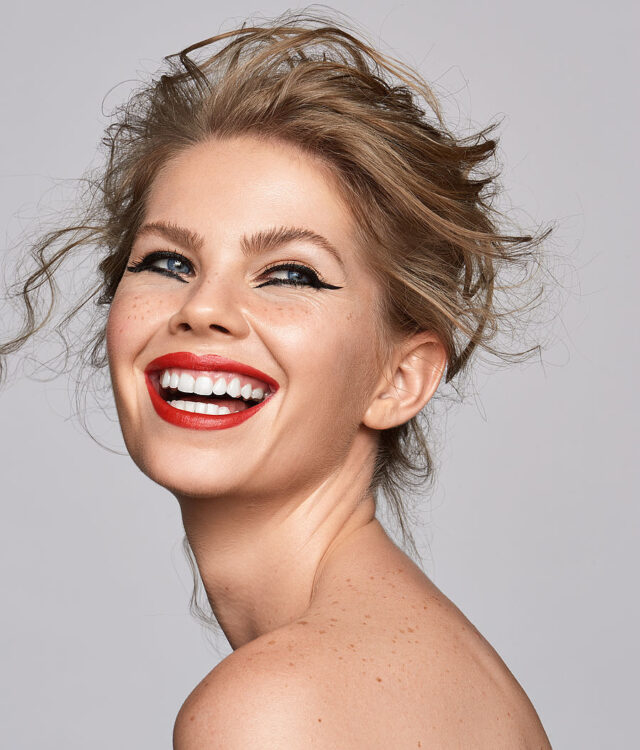
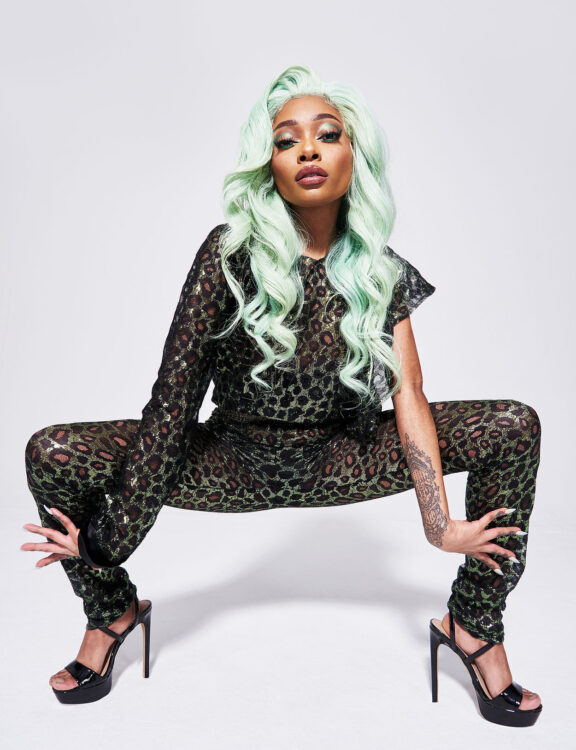
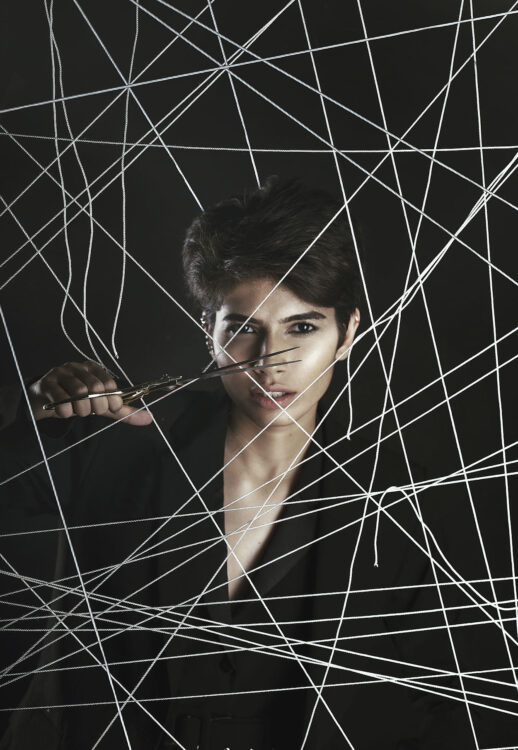
For this story we had two wonderful models: Nyane Lebajoa, a well-known business women, owner of Temper by Nyane, instagram influencer and model, and Tshepi Vundla, South African Fashion Thought Leader and Social Media Icon.
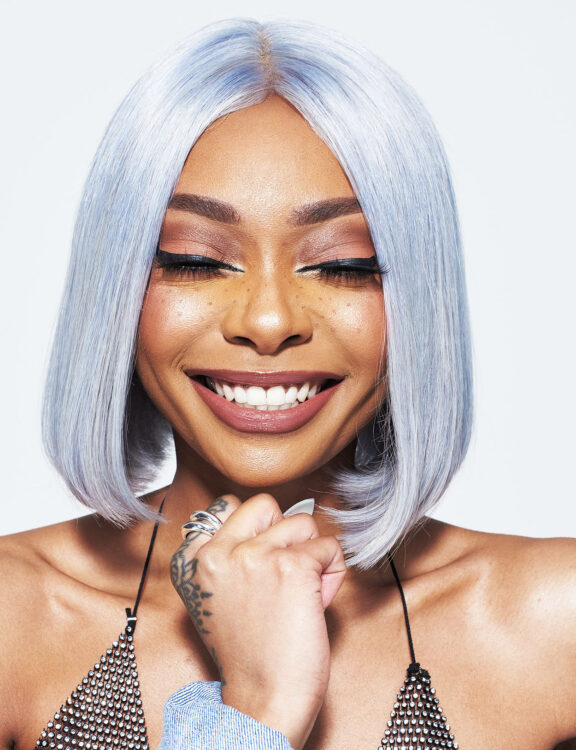
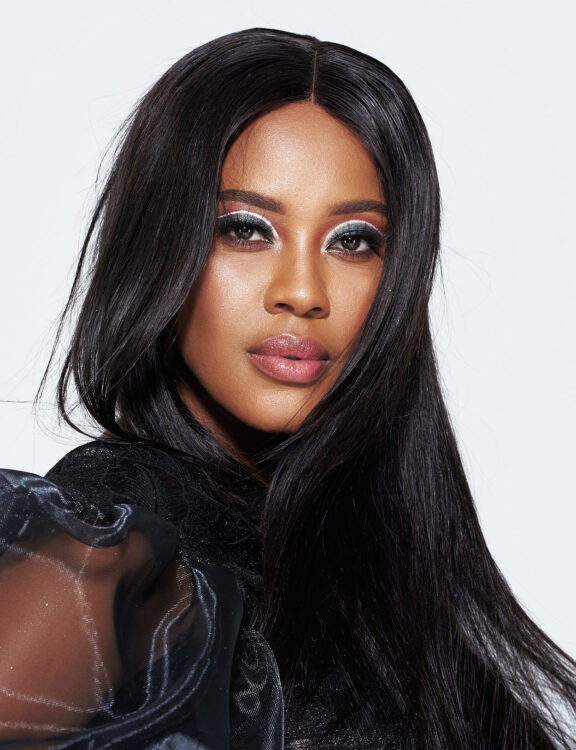
For this story Zipho, the beauty editor, didn’t want us to focus on doing just close up portraits but also needed me to incorporate full length body shots. I decided to work out a lighting setup that would yield good results for both portraits and full lengths without having to constantly move lights around. I always get a little bit hesitant and worried when shooting against white backgrounds. It’s a background that is used in so many studio works and it can tend to look a little bit boring and flat if lit incorrectly. I wanted the lighting to look clean and editorial while still making every colors pop.
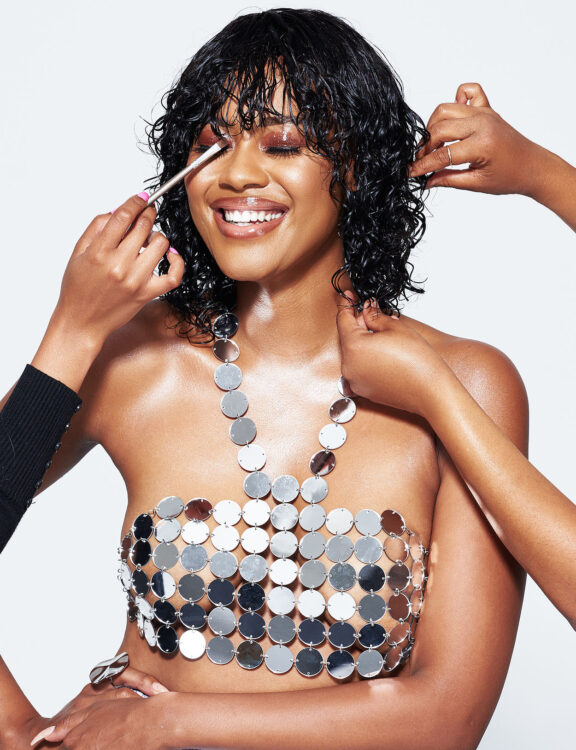
To start off, I attached a Beauty Dish Reflector to a Pulso G 3200 head. I used this combination as my main light source. It was connected to a Scoro S 3200. I made sure I used a Beauty Dish with the white coating inside as opposed to the softlight reflector with the silver coating. I have found that the silver softlight reflector can enhance texture and reveal skin imperfections. For this specific shoot I didn’t have time to spend hours on skin retouching, so I had to make my life a bit easier in post by adjusting my lighting approach.
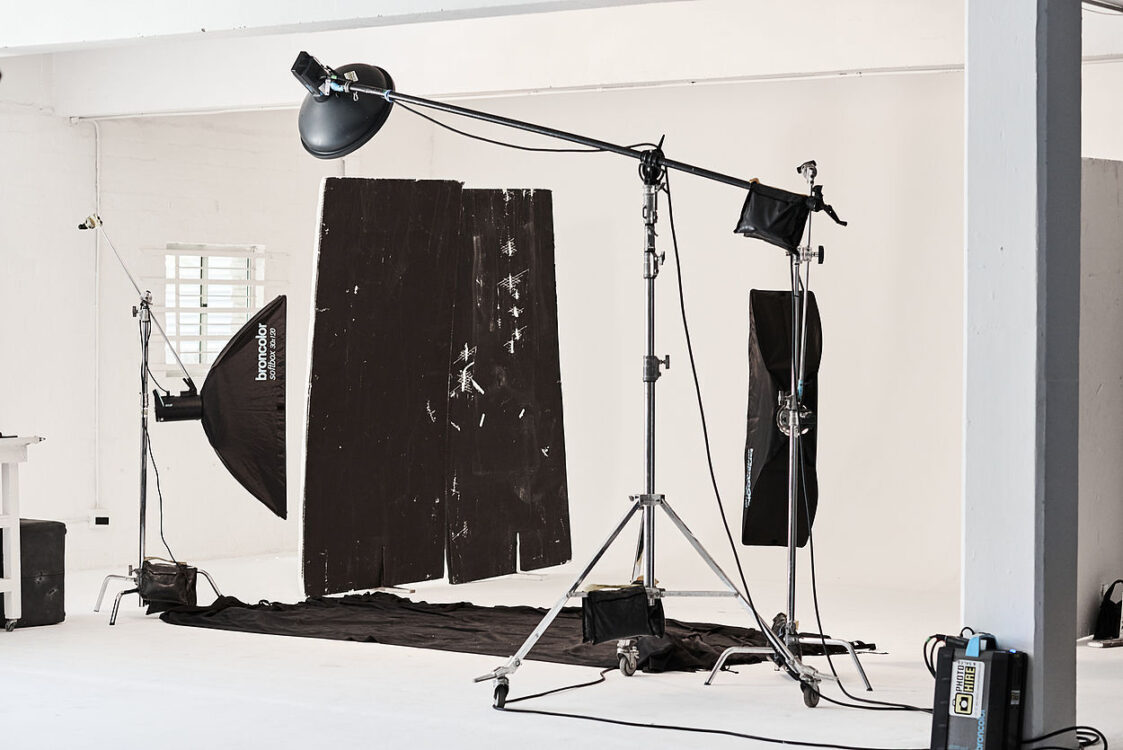
I placed the beauty dish on a boom, high up, in line with my model’s face. This allowed me to easily navigate forwards and backwards without bumping into any lights. The beauty dish was placed quite a few meters away from my subjects. I wanted to make sure the background didn’t end up looking too grey or overly white and to achieve that I needed to make sure the distance between my main light and my model, model and background, and main light and background was correct. It takes a little more time, but it is important especially if you don’t have additional flash to use for lighting up the background.
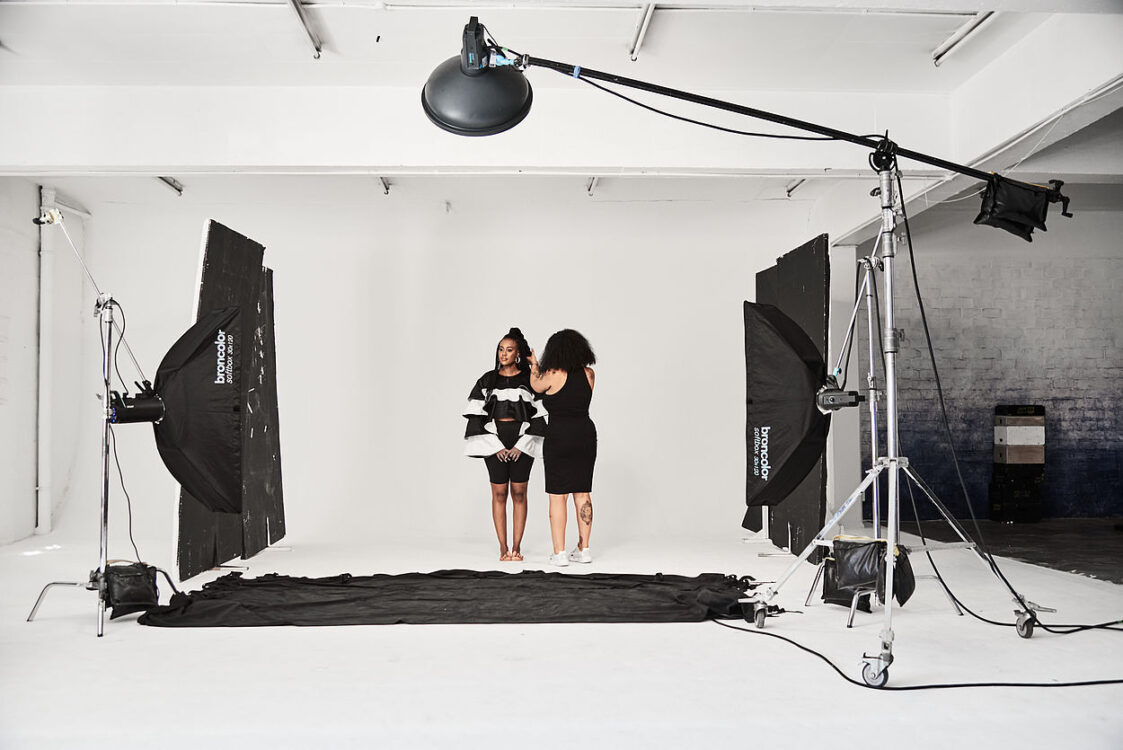
Secondly, I used two broncolor 30x120cm Stripboxes that I placed on either side of my subject at a 45° angle. These acted as fill lights. One strip was attached to a Pulso G 3200 and another was attached to a Siros S800. I used the Stripboxes to create a more even light spread. They acted as a slight fill for the beauty shots, but also helped with lighting the full-length shots. I ended up having an even light spread from my subject’s face to their feet.
I placed a blackout on the white floor in front of my subjects to prevent too much light from the Beauty Dish and the Stripboxes reflecting back into my subject’s face. I also added two black polyboards on either side of my subjects as a negative fill. This allowed me to shape the light especially when it came to the beauty shots. I did switch the front polyboards to white on some full lengths but kept it black for most of the shots.
This lighting setup is perfect for anyone who is looking for an easy, simple and effective lighting technique that works for most studio situations. If you are just starting out with studio photography and you don’t have a big budget, this is a great place. I haven’t tested this setup for color backdrops but it should be okay. I hope you find this setup helpful and that it inspires you to play around and create beautiful work.
Credits:
Senior Beauty Editor Zipho Ntloko @themakeupstandsa
Photographer Marnus Meyer @marnusmeyer
Style + Beauty Assistant Amber Barker @amber_joy_barker
Hairstylists Justine Alexander and Marchay Linderoth @justine_nomz @marchay_linderoth
Makeup Artist Vuvu Maseti @lusetibeauty
Photographer’s Assistant Paul Hunt @paulhunt.jpeg
Fashion Production Assistant Maria Small-Smith @mariasmallsmith
Models Nyane Lebajoa @nyane and Tshepi Vundla @tshepivundla
Studio and flash rental Photo Hire @photohire