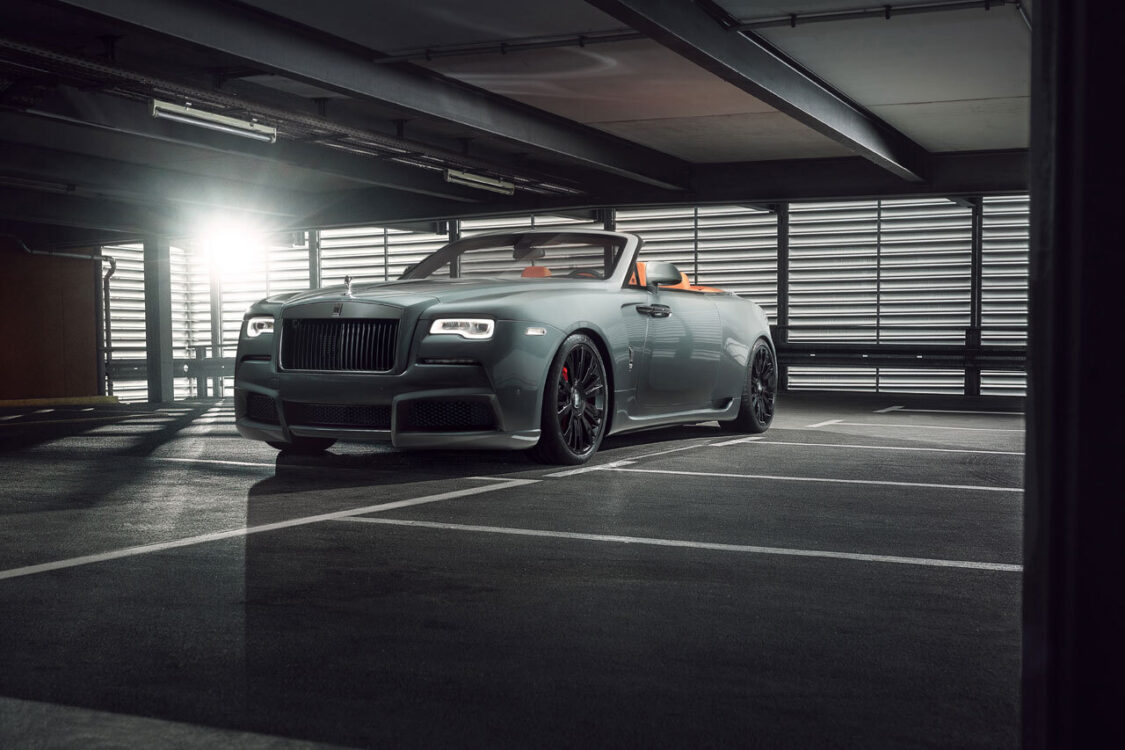
Car photography is a very distinct and exciting field of photography. Highlighting specific characteristics of the car while conveying emotion in one single photography is one of the core challenges. The lights that you use play an extremely important role in portraying the design, the lines and the character of the car. With proper lighting and photography gear, good preparation and an adapted location for the shoot, you can achieve outstanding results.
Former GenNEXT Ambassador of broncolor, Phillipp Rupprecht, has specialized in car photography. He has been using broncolor lights on many occasions when shooting cars. In this blog, he gives us insights and shares experiences on how he executes car photoshoots.
Today I want to give you some insights into my process of shooting cars. From the perspective of a photographer, there are three major things that differentiate cars from people: Their size, their surface, and their movement. While the first two make shooting cars quite difficult, the last one makes it a bit easier.
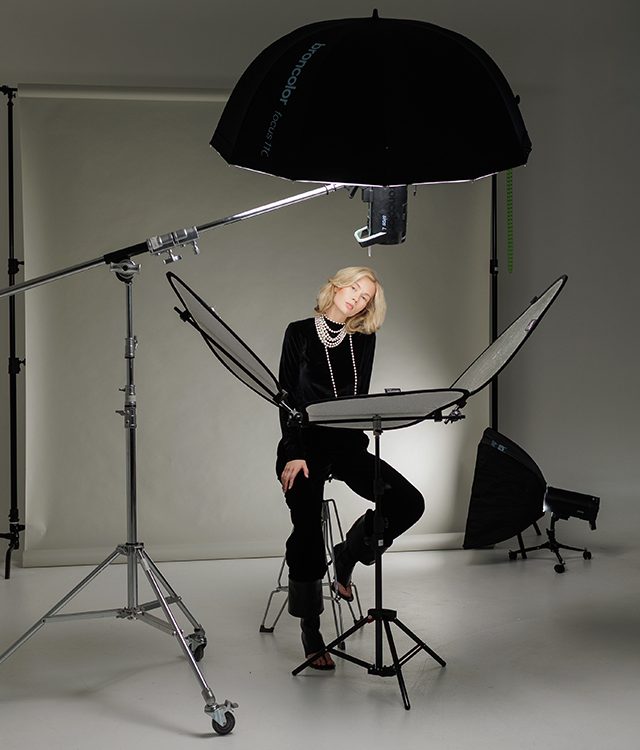
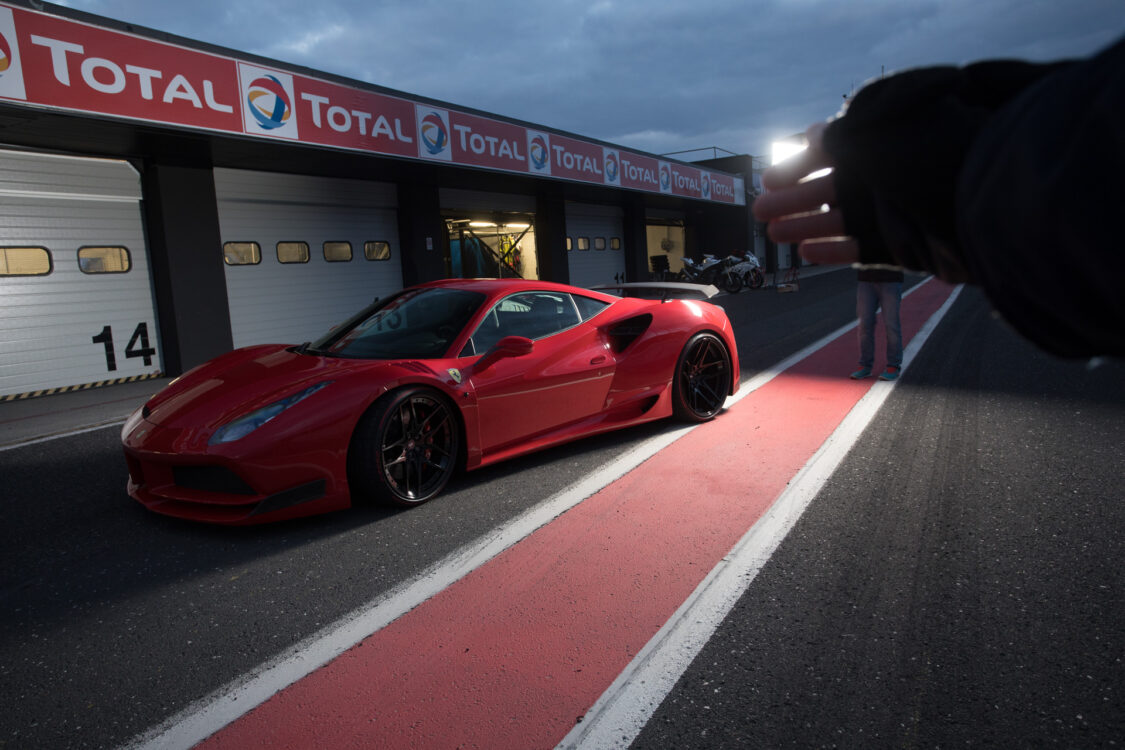
The sheer size of cars makes it challenging to find good locations that do not make the car look like it is squeezed in. This means the location has to be really huge. Also, you need enormous light sources to get a soft, even lighting on your subject. In general, I use two Siros 800 L with several light shapers for my images. To highlight the shape of the car, I need super hard light, like the one the P45 reflector gives me. It also helps to maximize the power output from the lamp. For smaller details and the wheels, I use the 120x30cm Softbox. It creates nice reflections and makes them look glossy.
In addition, cars are also super shiny and reflective which is difficult to show in a photo. To achieve a beautiful, clean reflection, attention must be paid also in the area around your frame. It has to be really clean to avoid any kind of distracting reflections. Also, all light sources automatically add a hotspot to the paint (small hotspots for strobes without any light shapers – big white reflections for softboxes, etc.).
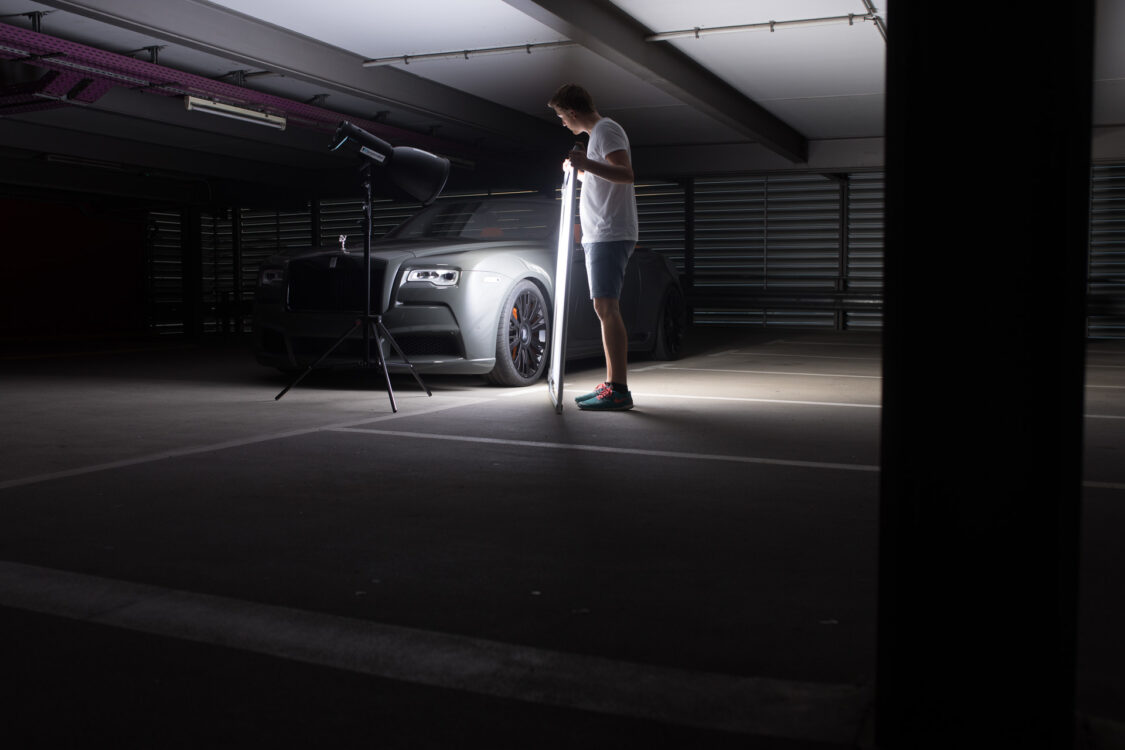
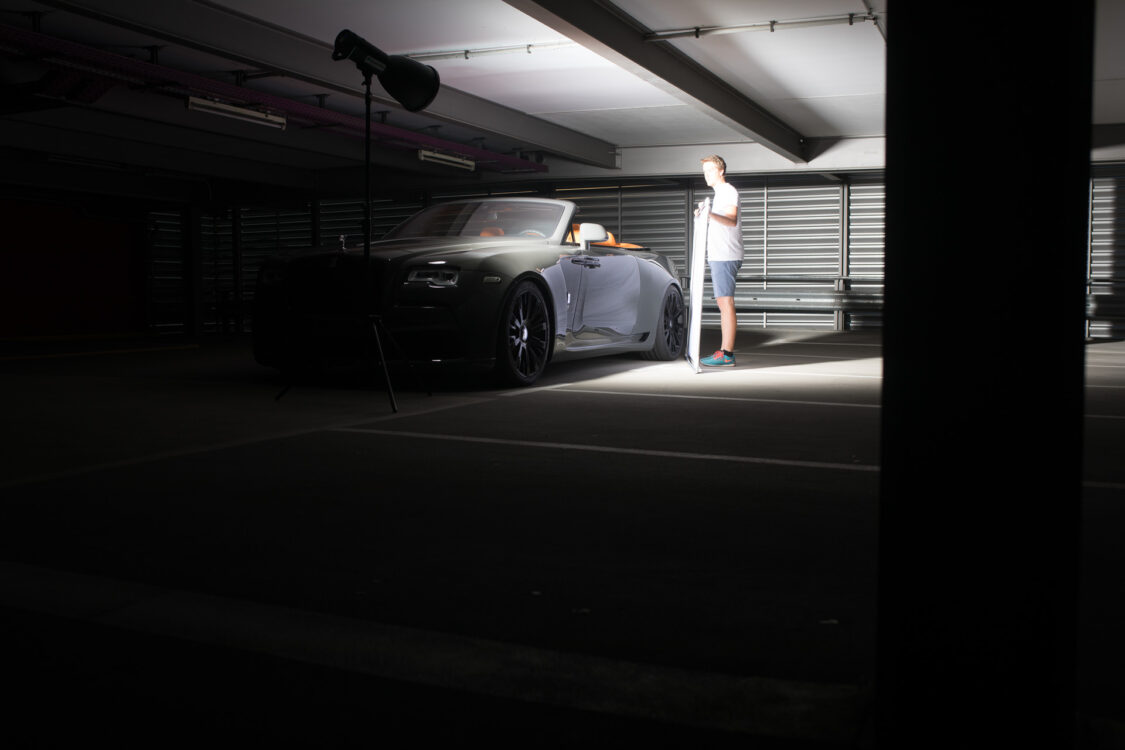
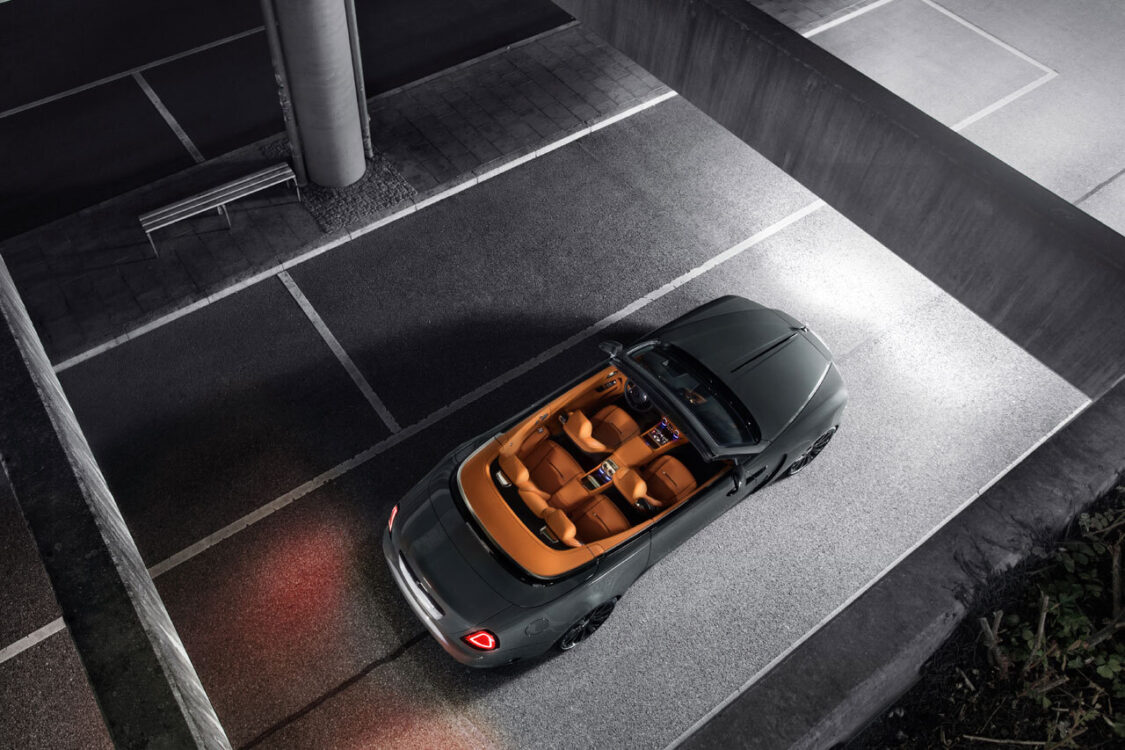
Both previously mentioned facts make it quite challenging to shoot cars. Though, the stationarity of cars makes it at least a bit easier. With stationary, I mean that they don’t move at all. This has the advantage of enabling you to shoot several images with different lighting from a tripod and blend them together in post-production. This way, you can take a medium-sized softbox and highlight part after part of the car separately and keep the tripod always on the exact same spot. As you might have seen in my previous blog posts while I was in broncolor’s GenNEXT program, I am not getting that one final shot directly out of the camera. Rather, I prepare data for Photoshop using many pictures of the same perspective with different lighting. It’s kind of a workaround to get a smooth and soft light even for big objects.
This is my “Two Steps Method” for a car shooting:
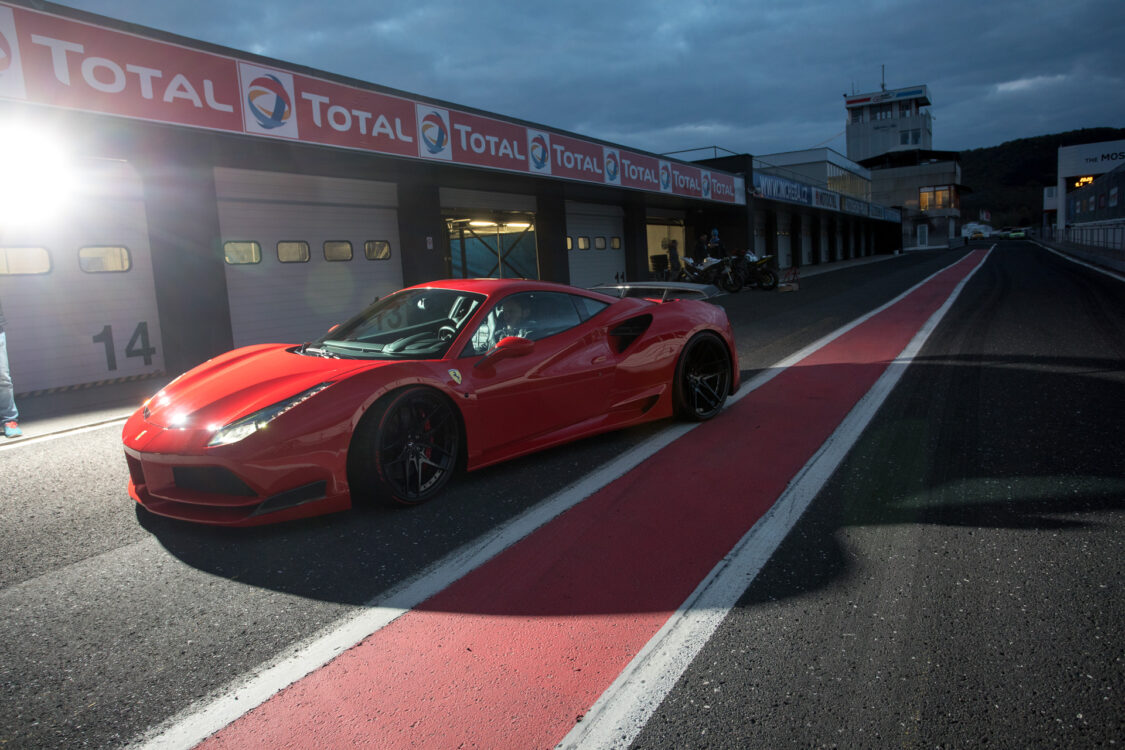
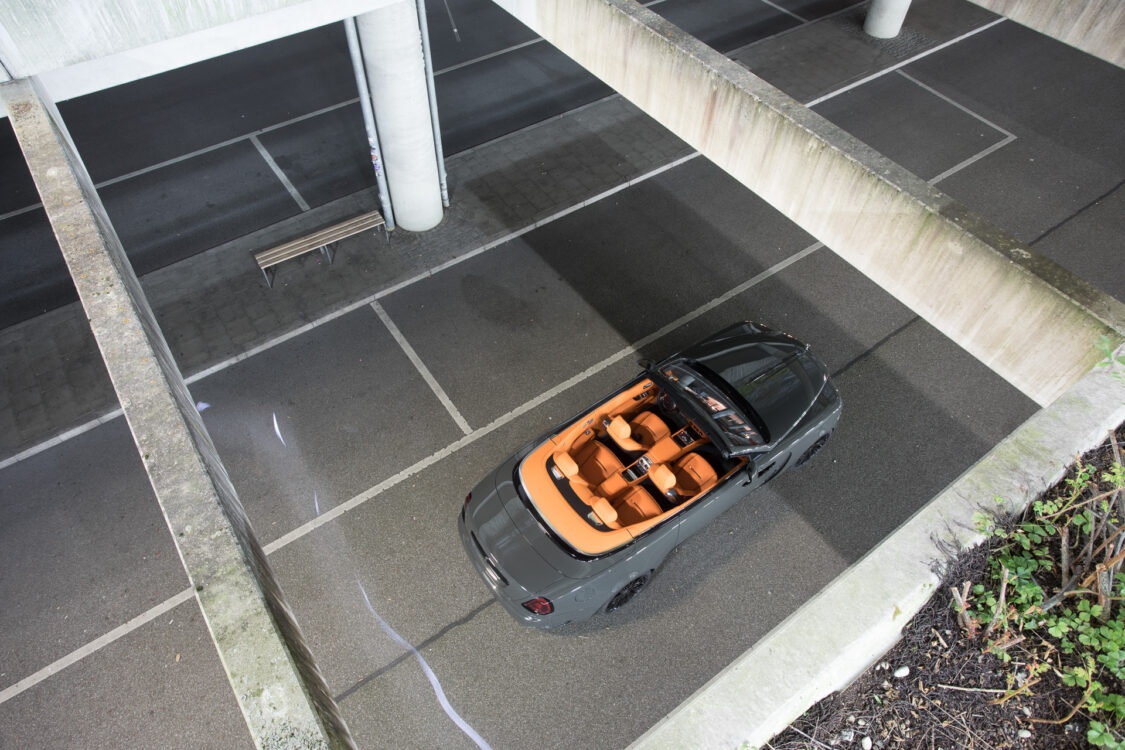
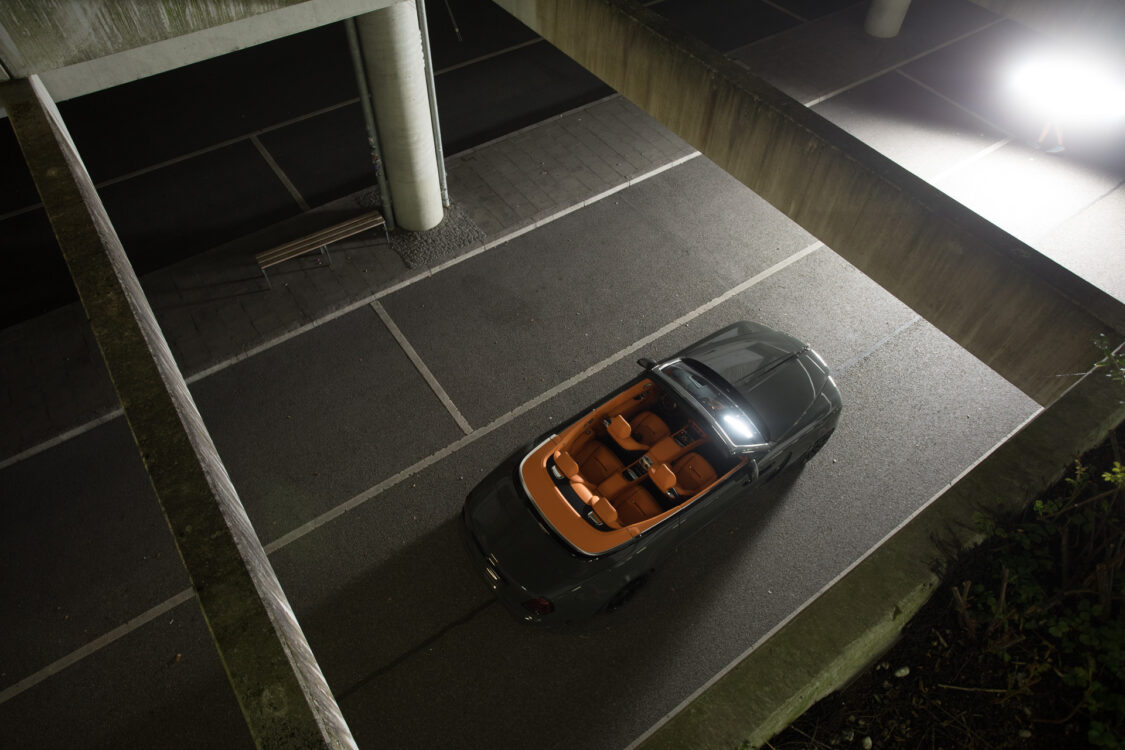
First, I focus on lighting the area surrounding the car. Here you can create special atmospheres by placing strobes, that shape the light of your whole set. You can also use the multiple-frame-technique that I explained before, to make sure everything looks good and natural. Second, now comes the lighting of the car – part after part, as mentioned above. Very important to keep in mind are always the shadows of the car, which are kind of connections between the car and the location.
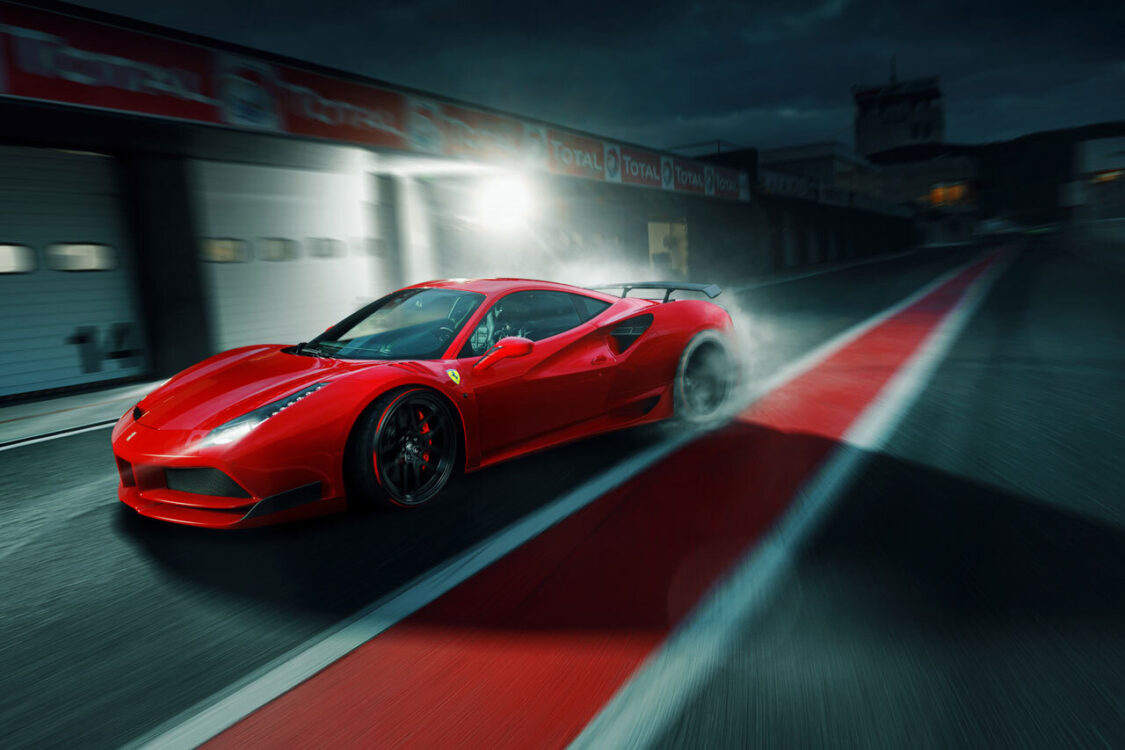
Later, all the previously generated data is being merged in photoshop manually.
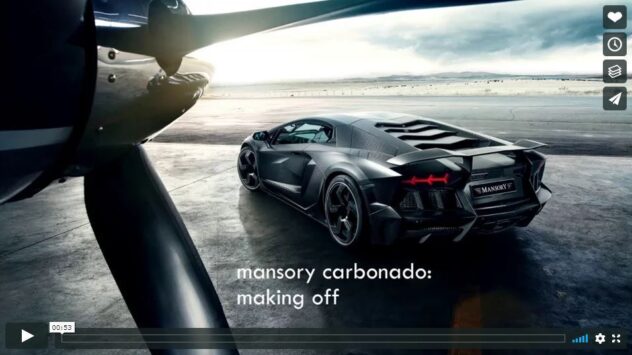
Click on the following video to see the post production in photoshop:
About Philipp Rupprecht:
Philipp Rupprecht is a professional automotive photographer based in Munich who photographs anything on wheels; from multi-million-dollar hypercars to low budget road trips to the ends of the world.
Discover more of Philipp’s Work:
Instagram: @philipprupprecht_
Facebook: @prupprecht